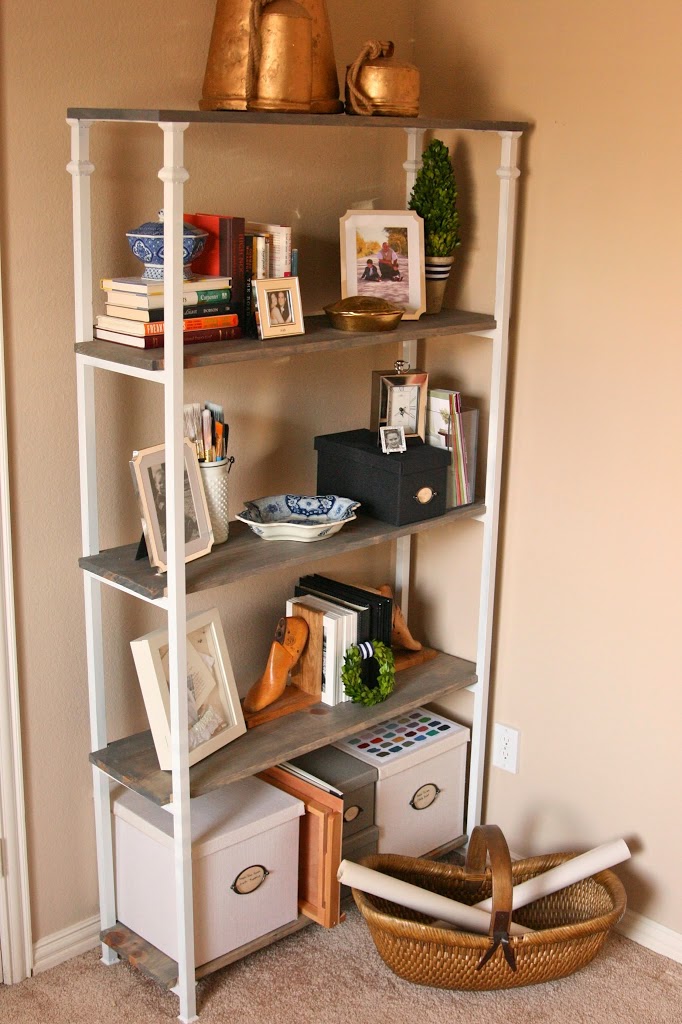
You gotta work with what ya got, right? Well there is a pretty big lack of storage in our house. But it is what it is and I needed to start utilizing the space we do have! New Bookshelves to the rescue!
I had these bookcases in my office on either side of the french doors~
I really did like them and they were nice- but they weren’t maximizing the space, and clearly I was starting to just pile stuff all around them. I wanted to display items but also have functional storage for all of my craft/ paint/ tons-o-crap stuff!
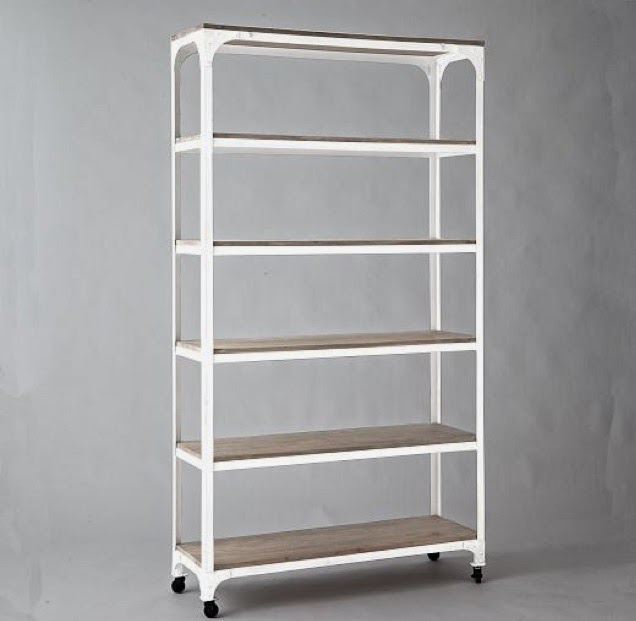
In a search for new bookshelves, I came across these from West Elm and just loved the clean look of them!
Now at $900… this was not happening! So I took my cute pink pencil and got to measuring and drawing what I needed! Now I knew exactly what I wanted to do… but with a pretty minuscule idea of how to accomplish it. This is a pretty common occurrence in our house so I let it marinade for awhile and finally did what I could to force myself into it- I bought the wood and then let it sit in my front hallway for two weeks until I couldn’t stand it anymore!
I thought about cutting the notches with just a hand saw and then decided not to. I asked my sweet contractor neighbor what his thoughts on it were and we both agreed that a jigsaw might work… I don’t have a jigsaw. And then finally I dug through my Power Tools kit that I won from Ryobi and settled on the reciprocating saw– (affiliate) grabbed some clamps- and the instruction guide and went to town!
I admit I was terrified and made sure my children were ready to call 911- but what do you know?! It was easy and awesome!!! I want to cut everything now!
Ok- enough with my endless chatter. You will find a tutorial at the end of my braggy pictures;)
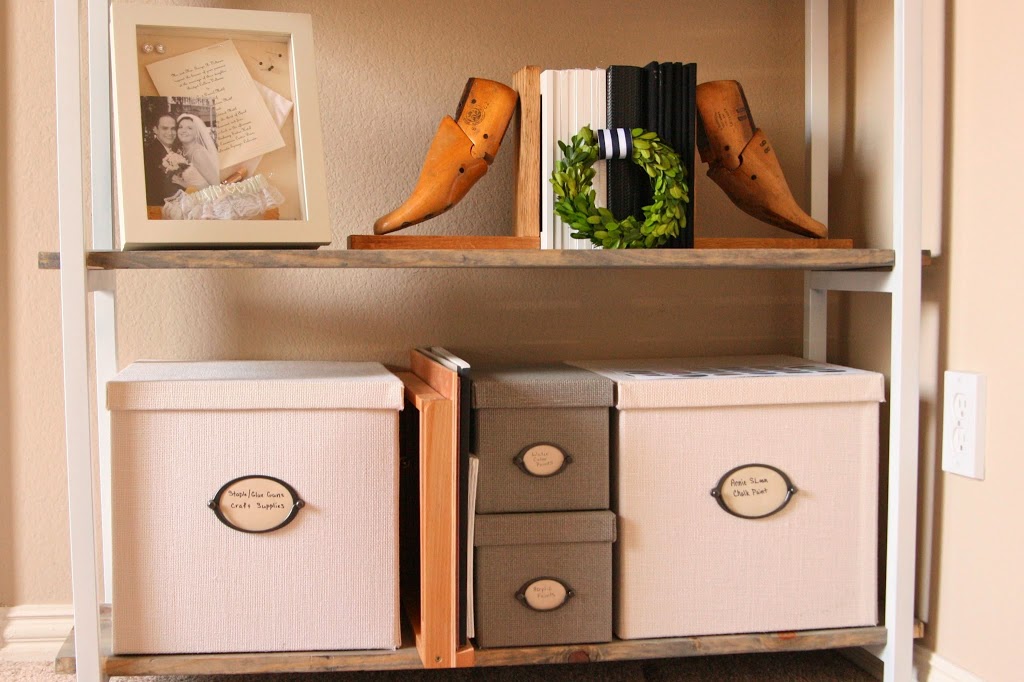
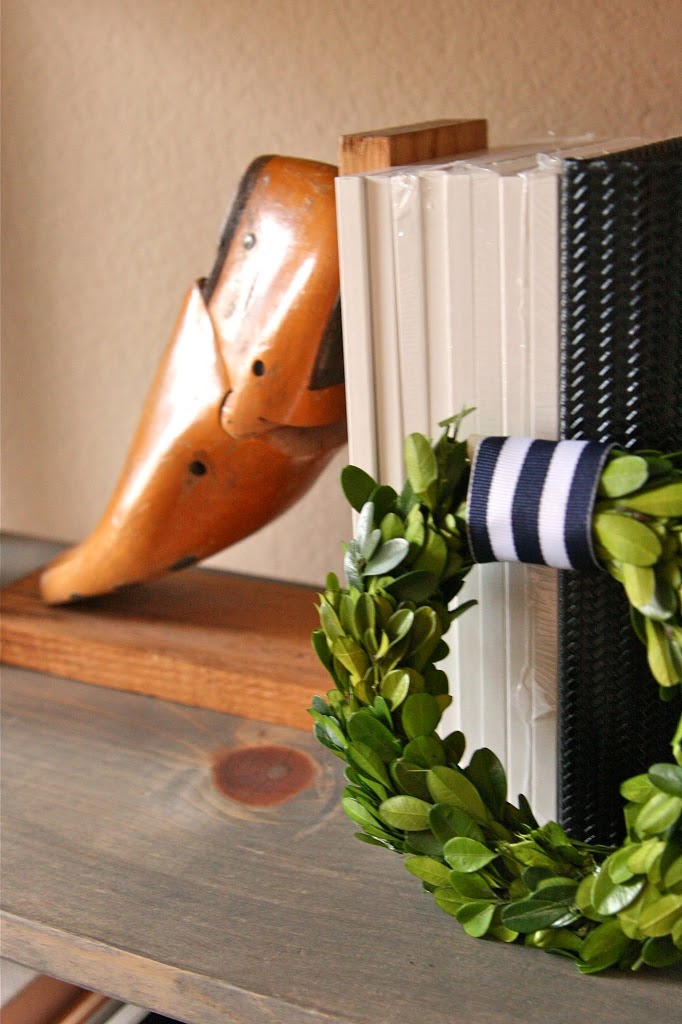
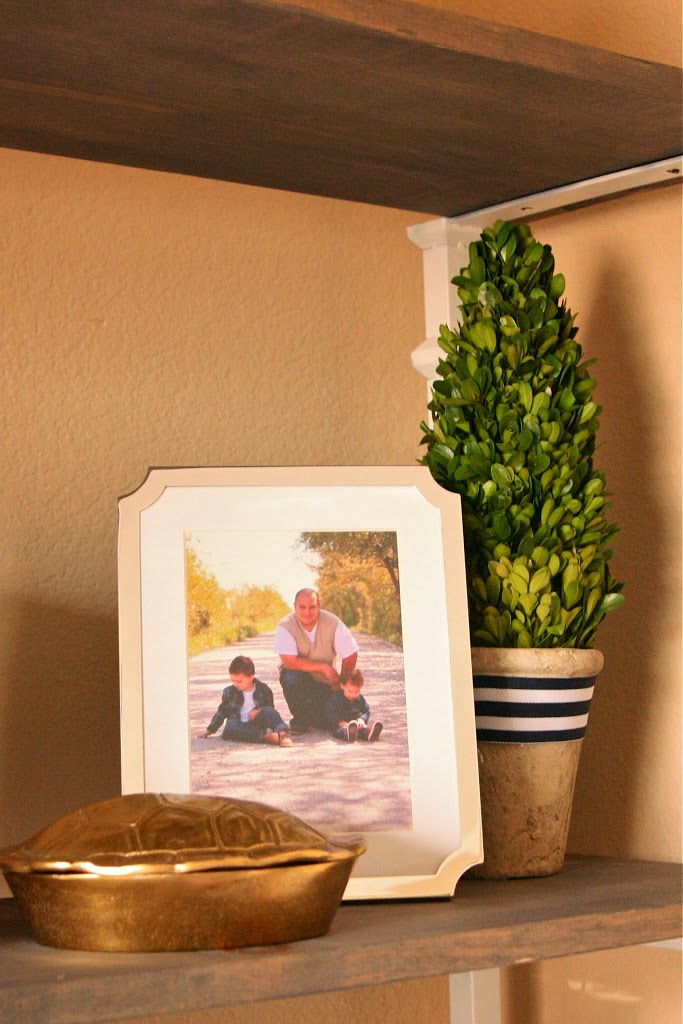
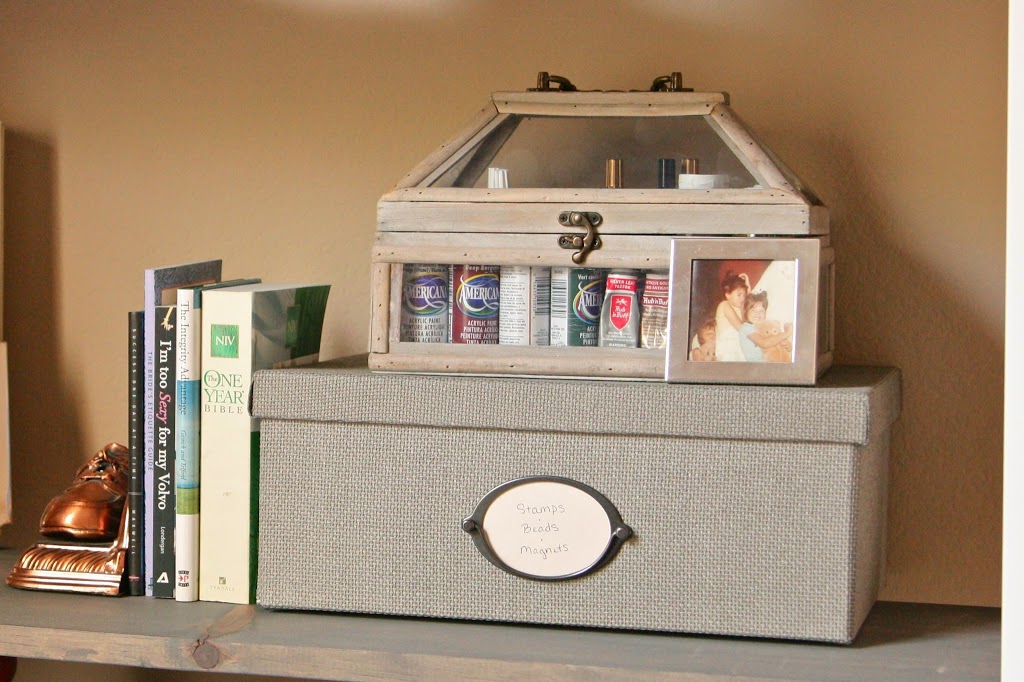
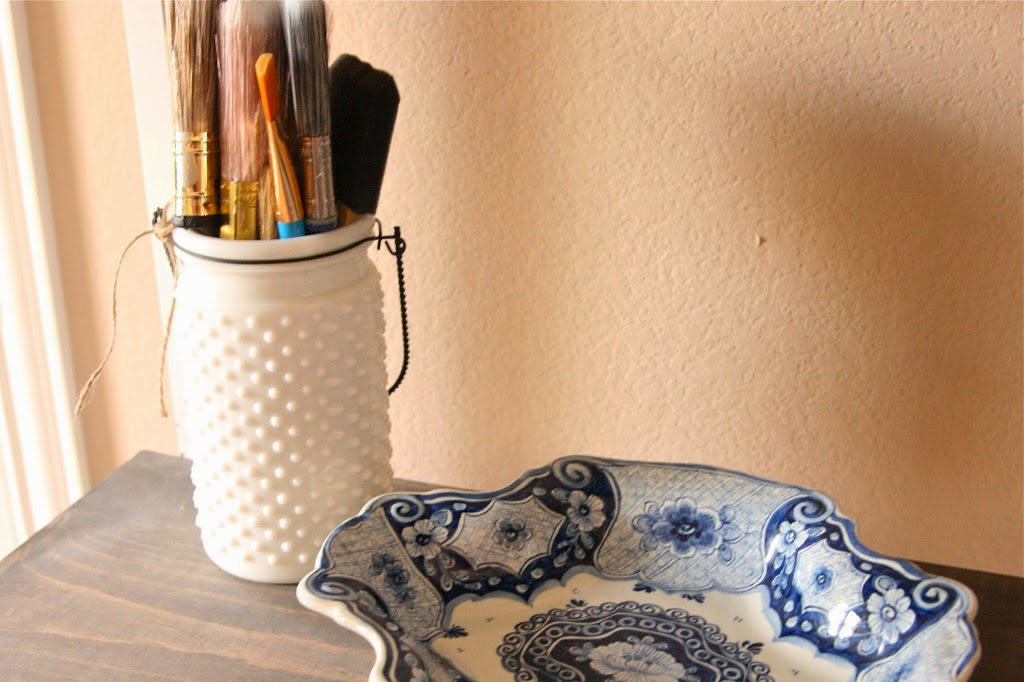
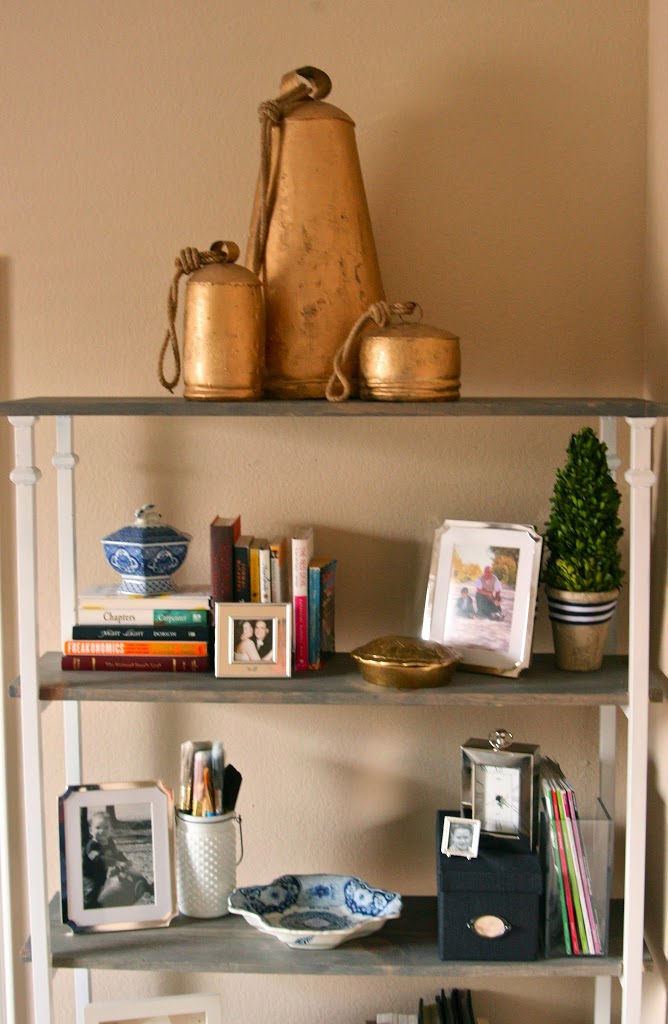
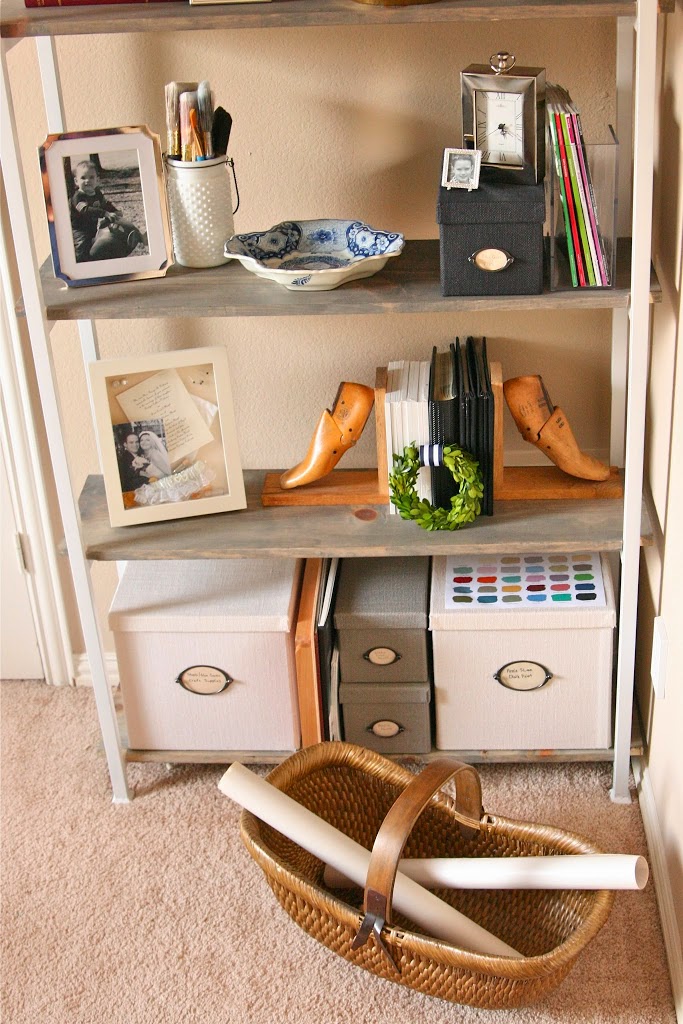
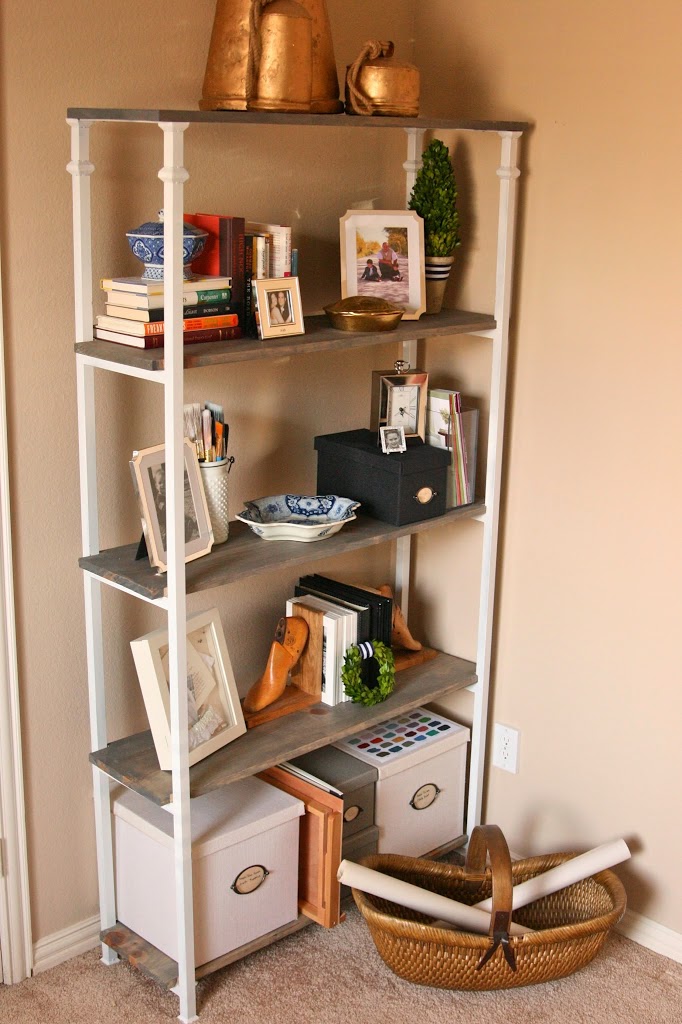
One on each side and I tried to make them a mix of memorabilia and also storage- all of the boxes are from Ikea and I LOVE them! They hold my paints that I can’t leave in my garage because of the heat and all of my crafting goodies.
1.After measuring the space I had them in, I determined the length and width of the new inset boards I needed and had them cut at Home Depot
2. I dismantled the old shelves and spray painted the black iron sides white- first a flat primer, then a glossy white on top
3. I lightly sanded, then stained all of the pine boards with Minwax- Weathered Gray
4. Using the old wood inserts, I traced where the cut outs needed to be on the ends of each board
5. I cut out those notches with my Ryobi Reciprocating saw while the boards were clamped down to my ultra nice backyard table;)
6. Screwed the top board and bottom board into the now white metal sides
7. Stood them in place and slid in the remaining shelves
8. Stand back and ooohhh and ahhhh over your amazingness!
Featured At:
Knock Off Decor

This comment has been removed by the author.
Love those! (Now you can make some for me!)
Thank you! I will get right on it;)
Sorry I wrote a comment and then deleted it. I posted from my husband’s google account on accident. 🙂
But, I LOVE these and your styling! That brass turtle shell box. GAH! I want. Beautiful! 🙂
Thank you so much! Guess what… that little turtle is from Target! Run and get you one!
i am so impressed with what you have achieved like you i have little storage but a huge house full of craft stuff kids stuff sewing and knitting stuff my daughter does glass painting and i make stuff from absolute junk i:e flowers from cut up beer and fizzy drink cans you get the idea. coconut shells for making buttons etc so your shelves have got me feeling all creative and inspired I owe you one 😉