This post was actually written a year ago. As I was preparing to publish it, my Mom passed away. It has sat here just waiting to be shown but for whatever reason I couldn’t do it. I started this blog as a way to share pictures and details with everyone but especially my Mom and to lose her has caused an unimaginable void for me. My Mom and I were and will always be best friends and this last year without her has hurt my heart desperately. But with little ones, your time is not your own, and you are forced to push on. So I have pushed on and am finally going to show you my dining room:) and the pictures at the bottom of the post are obviously with our Christmas decor this year. This time last year became heart breaking with the passing of my Mom and my cousin’s dear baby girl- I am praying for peace this holiday season for my family and yours~
Dec. 2012
I love navy blue. I have dreamed of having it on my walls but never found a good place for it. I wanted it in my dining room but it doesn’t get any natural light during the day so it would have become a cave had I done it all in navy!
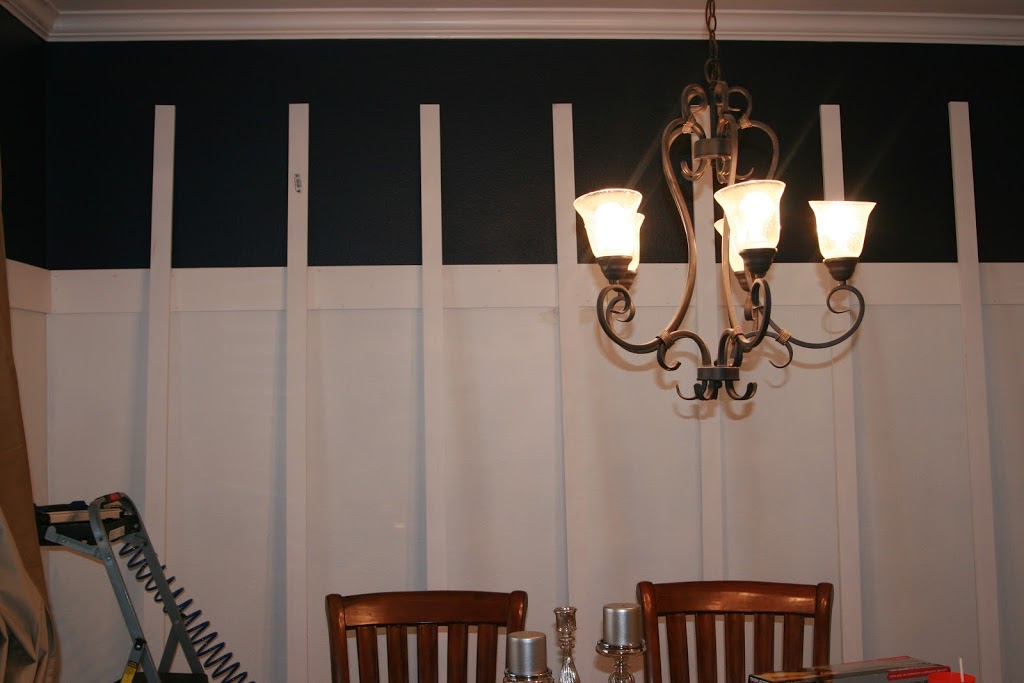
In a middle of the night brainstorm, I thought that if I had molding 3/4 way up the wall, I could do navy at the top and a bright white on most of the walls giving it enough bright contrast. To ease the hubs into the idea of me adding molding and navy to the dining room I just casually started painting the navy onto the top 1/4 of the wall. After two days he noticed this. Now at this point we all know that no one wants to try to cover up a dark color like navy, right?! of course not… so the project continued on.
And the hubs is really completely to blame because he got me every girls dream present…
Oh what a glorious day! This nail gun is Fanfreakintastic!!
I always want to be helpful and give details in this blog- but in truth there are so many thoughts and details that went into what was supposed to be just one piece of molding I can’t even remember it all and you would stop reading if I even tried;)
So in a short version- and feel free to email me if you have specific questions- I ended up doing a primed pine wood for all of the molding. A bit more expensive than the non-primed but well worth the time saver! It was all based on looks for me- I wanted clean lines and went with a thicker board around the top and then a thinner one for the verticals. I wasn’t going to take off my existing baseboards so I decided to cut the verticals at a taper at the bottom- and yes, I did actually do this with a hand saw and miter kit. Tired arms all around, but when a girl wants something she figures out how to get it done… am I right ladies?!
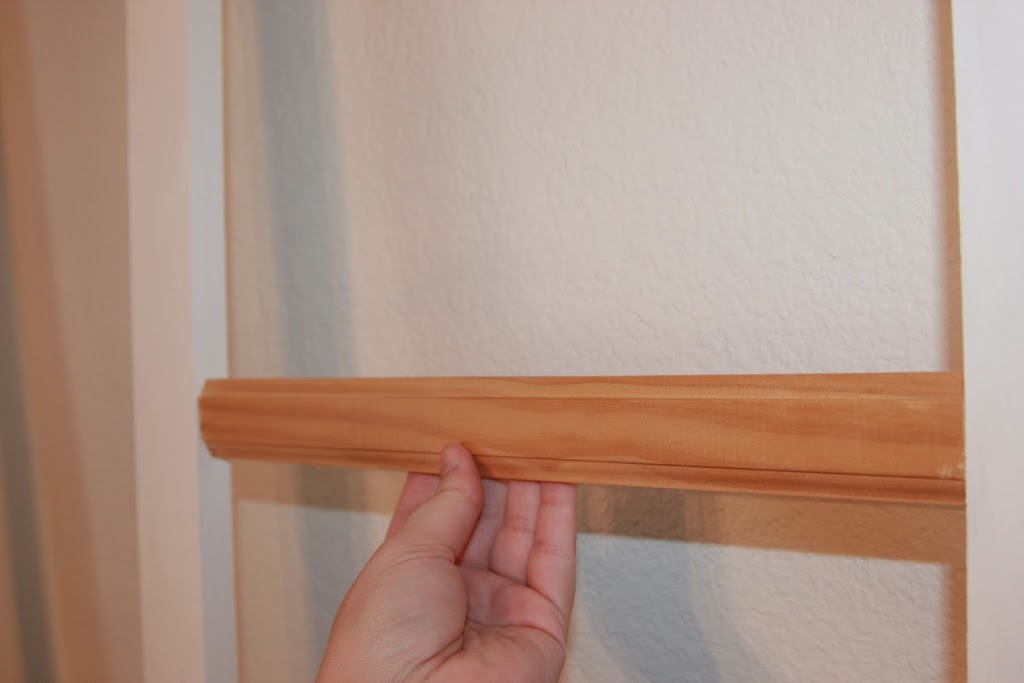
First I did the large horizontal boards (leveling as I went) and then I laid out the vertical boards to really see how it would look- then I used a pre-measured piece of molding to use as my spacer…
I did also do a frame around the doorway to make it all clean and nice. The only power tool I used was the nail gun! Just held the board up with a level on one side and shot those puppies out- one at the top and one at the bottom- recheck level and then a few more through the middle. Now don’t get to carried away because you do still have to fill those nail holes:)
Once I was completely done, out came the miracle worker of the project. Caulk. The walls in this house will continue to drive me mad until the end of time because they are NOT EVEN… NOT EVEN A BIT! So those boards were level but would have huge gaps showing between them and the wall- no bueno.
This is rare so I decided to show it… it’s me! in a picture! I actually had the hubs take it because he had no opinion and I wanted to see how it was looking.
White, paintable caulk. Use it. Love it. I squeeze a whole section on and then have a wet paper towel next to me that I wet my index finger on and then wipe down to create a smooth surface. There are tools to level it as well but I find that I can make it smoother with my finger.
Next step was the white paint… you would think that would be easy… but alas… you would be wrong. Dead wrong. Finding the right white paint is not easy people! I don’t know what my trim color is- but I wanted it to be a brighter white than it anyway- so I started testing some out.
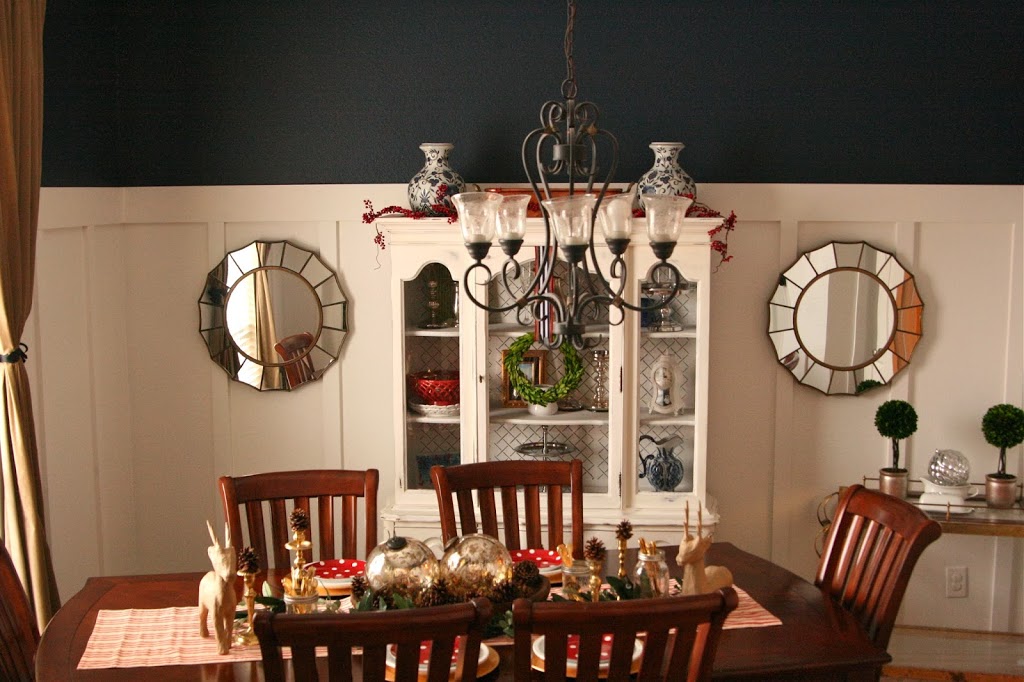
Finally settled on Benjamin Moore Decorators White and I am pretty happy with it. The navy is from Sherwin Williams (please don’t tell Benjamin) and it is True Navy.
At the end of the day it is a huge make-over on this room. It is the first room you see when you enter our home and I am truly in love with it!
I am considering adding more trim around the door way but will let it be for awhile and give these arms a rest:)
Hope you enjoy- and never be afraid to make your idea happen! I had never worked with wood like this and was just going on trial and error- but if you aren’t afraid of making a few mistakes along the way it became a fun learning experience! (but as an honest blogger I should tell you that at one point I was cussing like a sailor and my thumb was the size of my head)
Picture rediculousness….


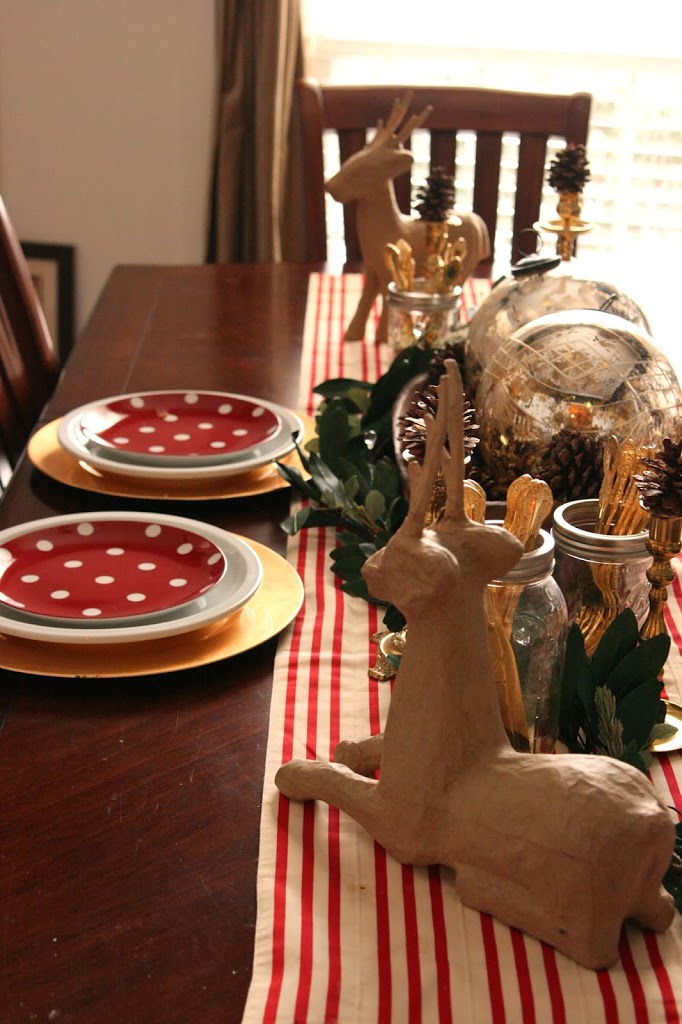
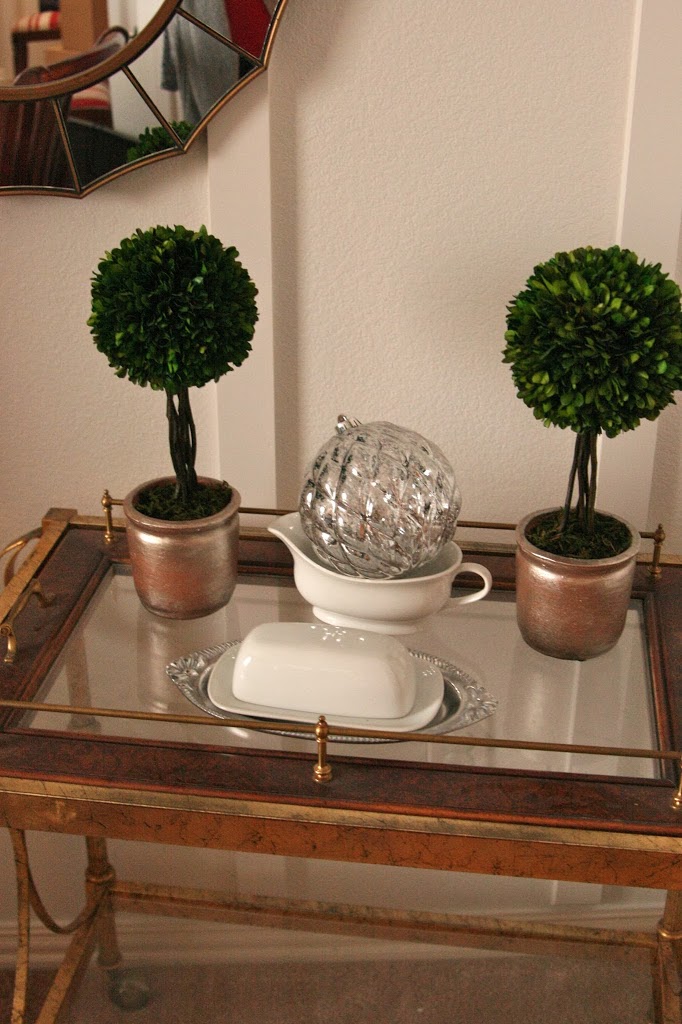
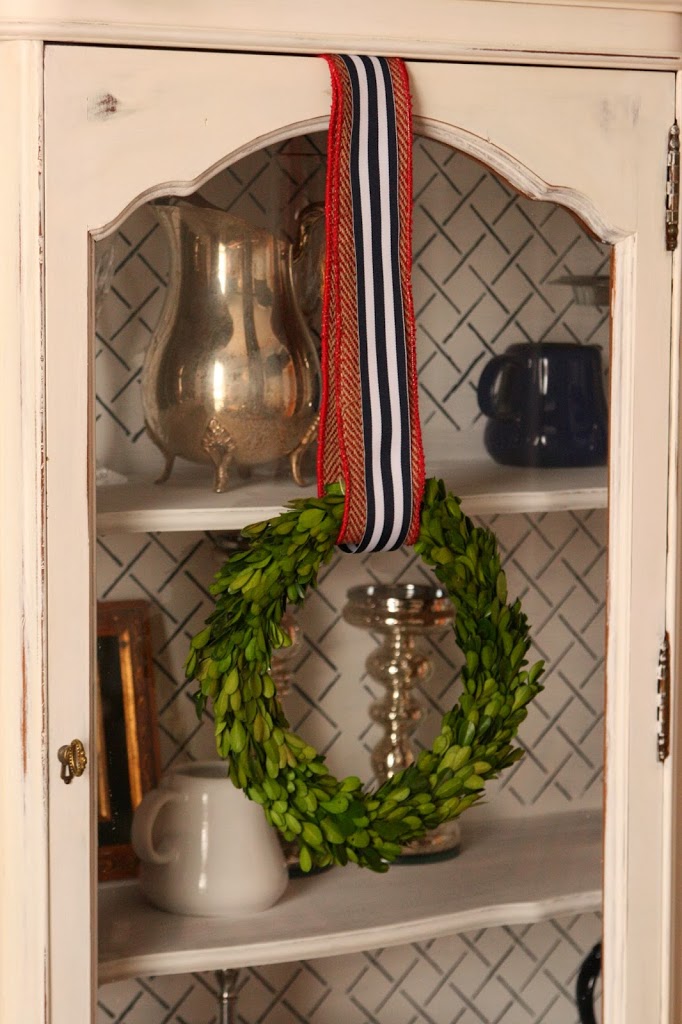
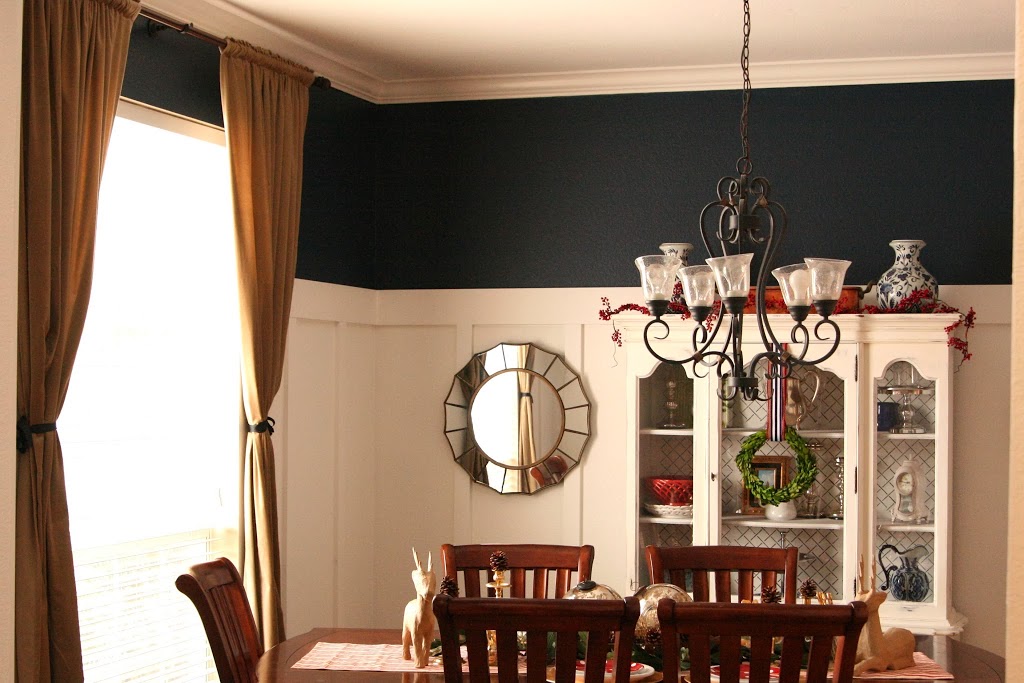
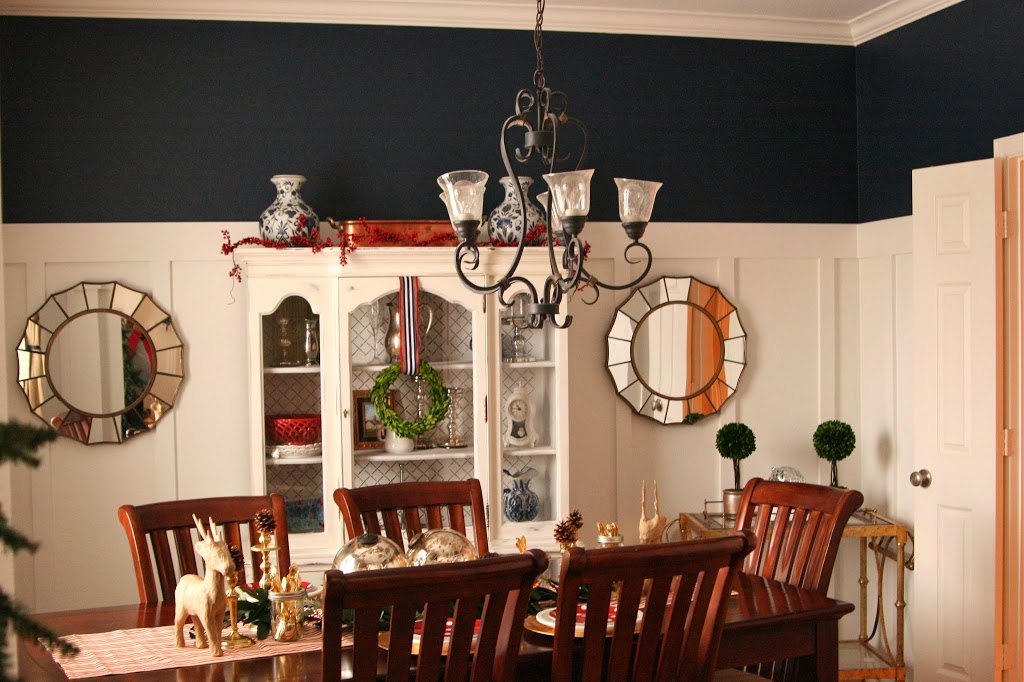
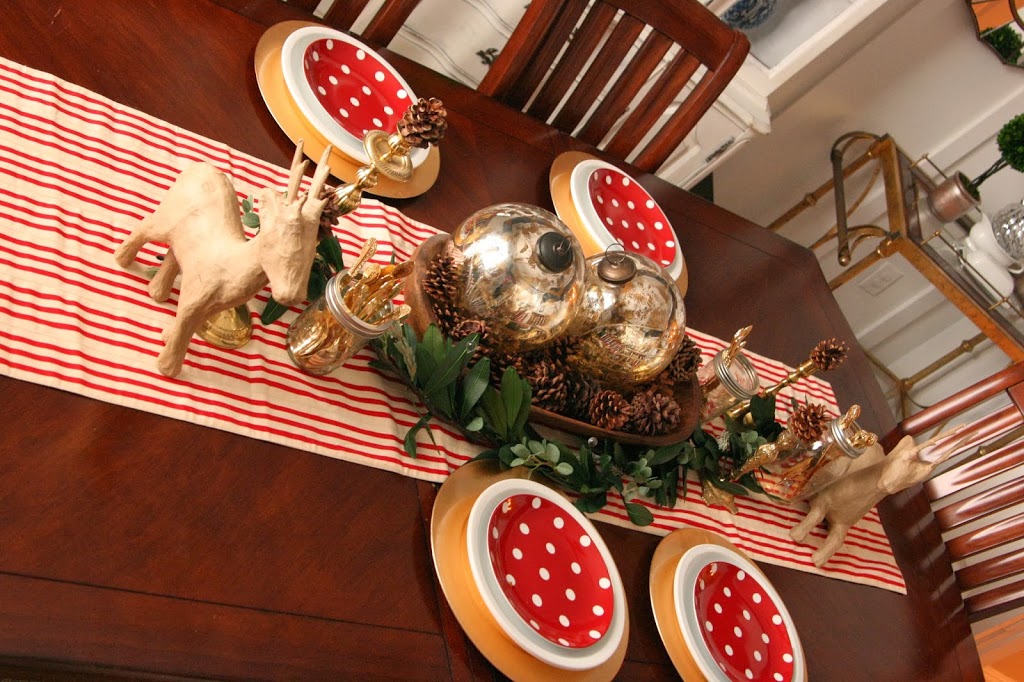
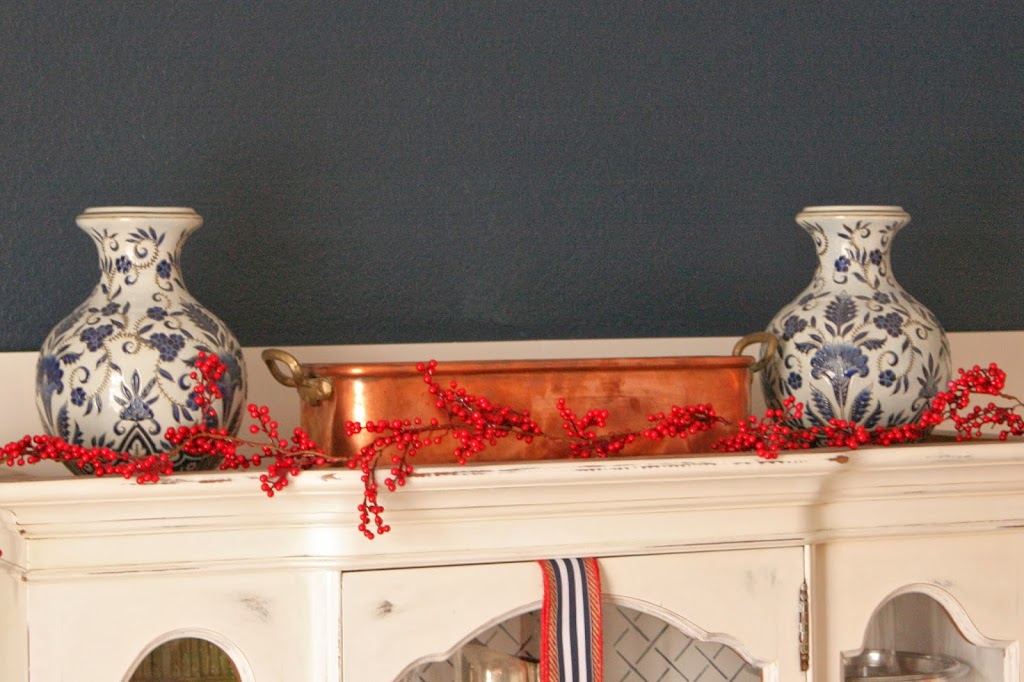
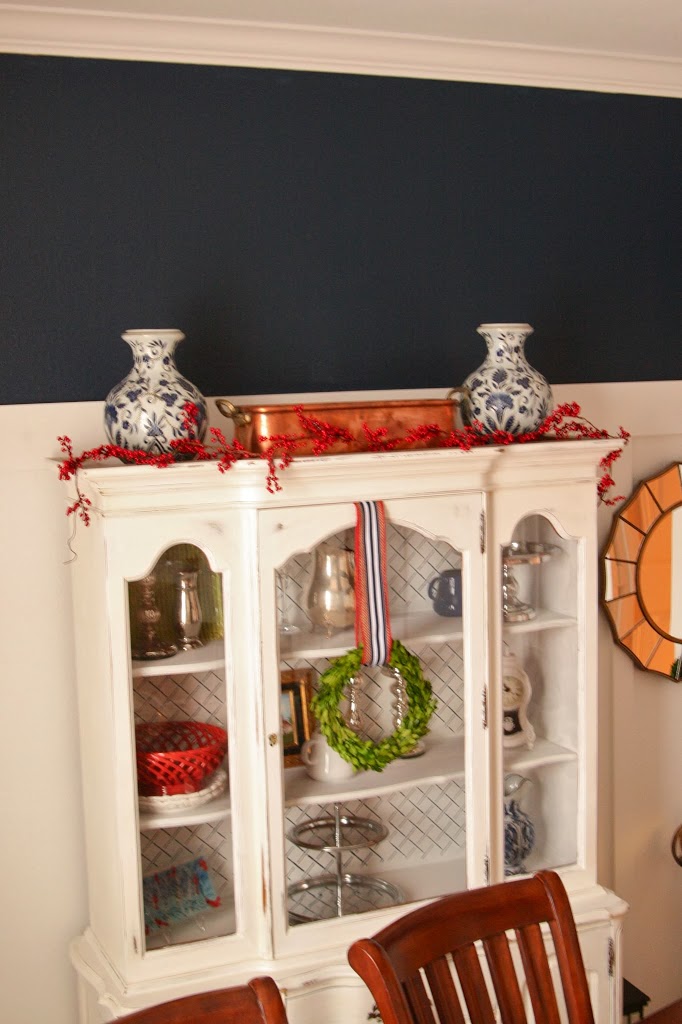
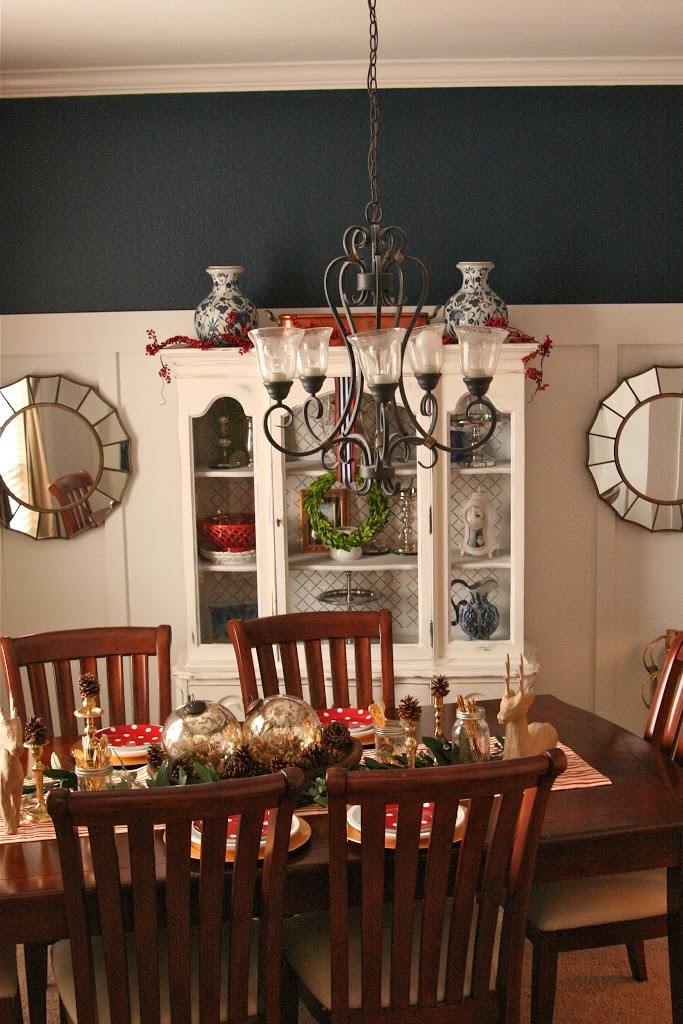
I love this look it just adds a special touch to the room
Thank you!!
Very pretty! I can sympathize with the mom thing. Mine passed away in 1990, when I was 12. I’m always here if you need to talk 🙂
Thank you so much Heather! xoxo
Very pretty! I can sympathize with the mom thing. Mine passed away in 1990, when I was 12. I’m always here if you need to talk 🙂
Another great job…..very nice.
Thank you!!
This comment has been removed by the author.
Your dining room is totally dreamy! I love the white with the navy! Thanks for linking with us at Twirl and Take a Bow! Hope to see you again next week.