Did y’all know how easy it is to change out a dated light fixture in a bathroom and just not tell me?! I have a tutorial here that will blow your mind if you didn’t… or you will be like… well duh.
Cause I would have done this about 6 years ago had I known. And the cost? forget it! done!
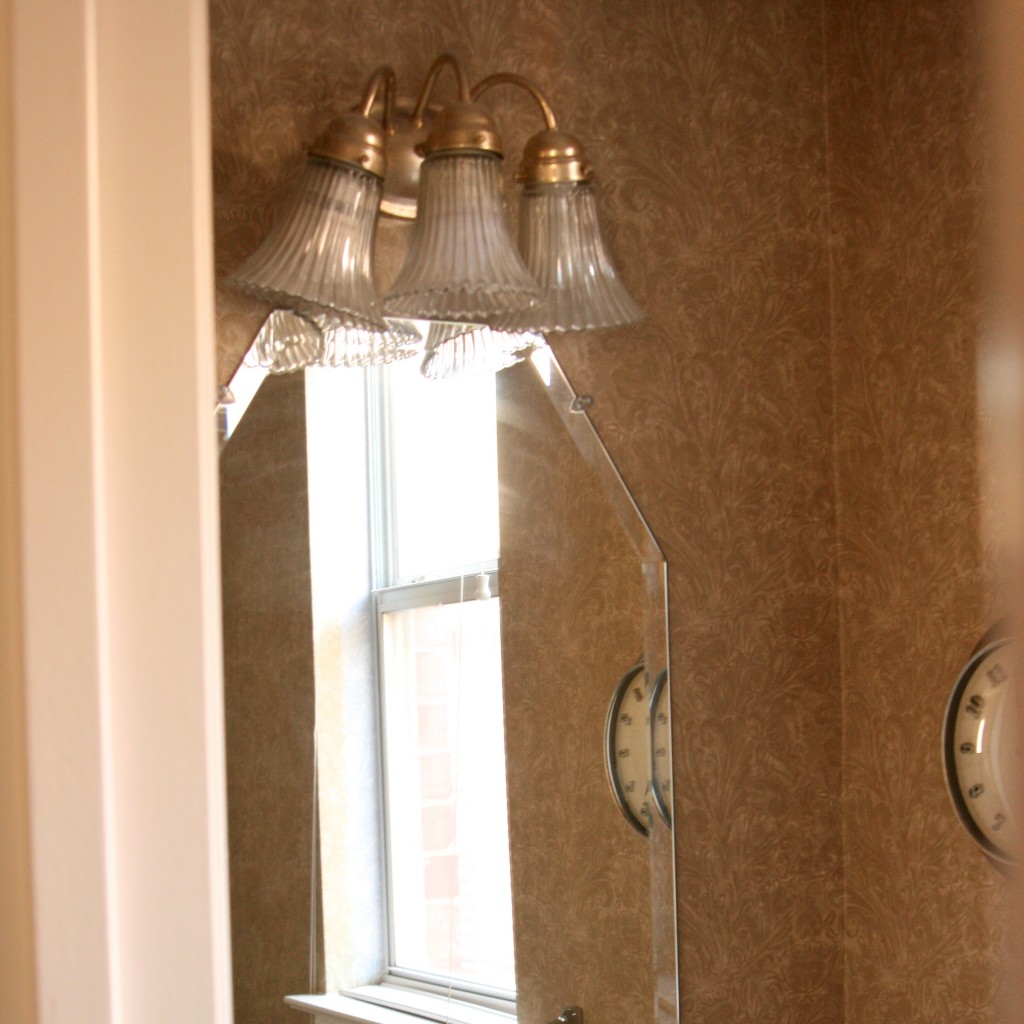
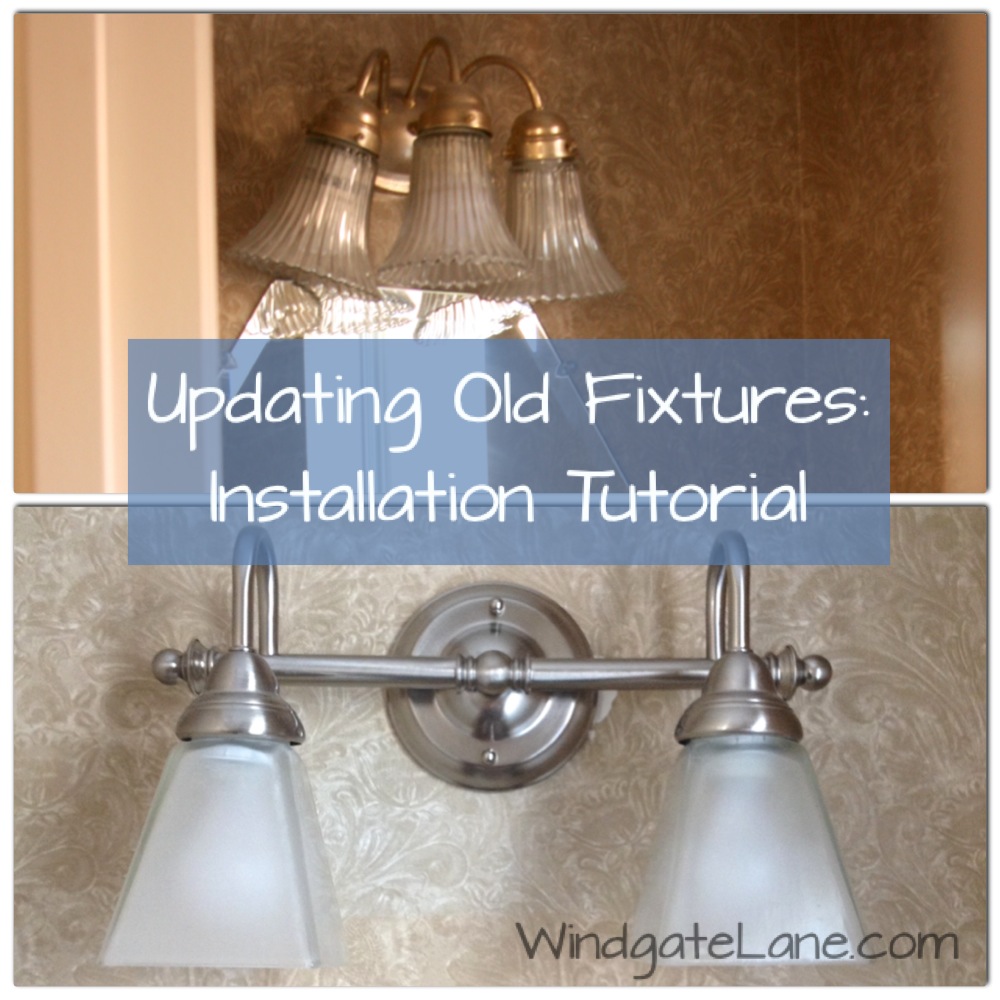
Here is what I was working with… not great…
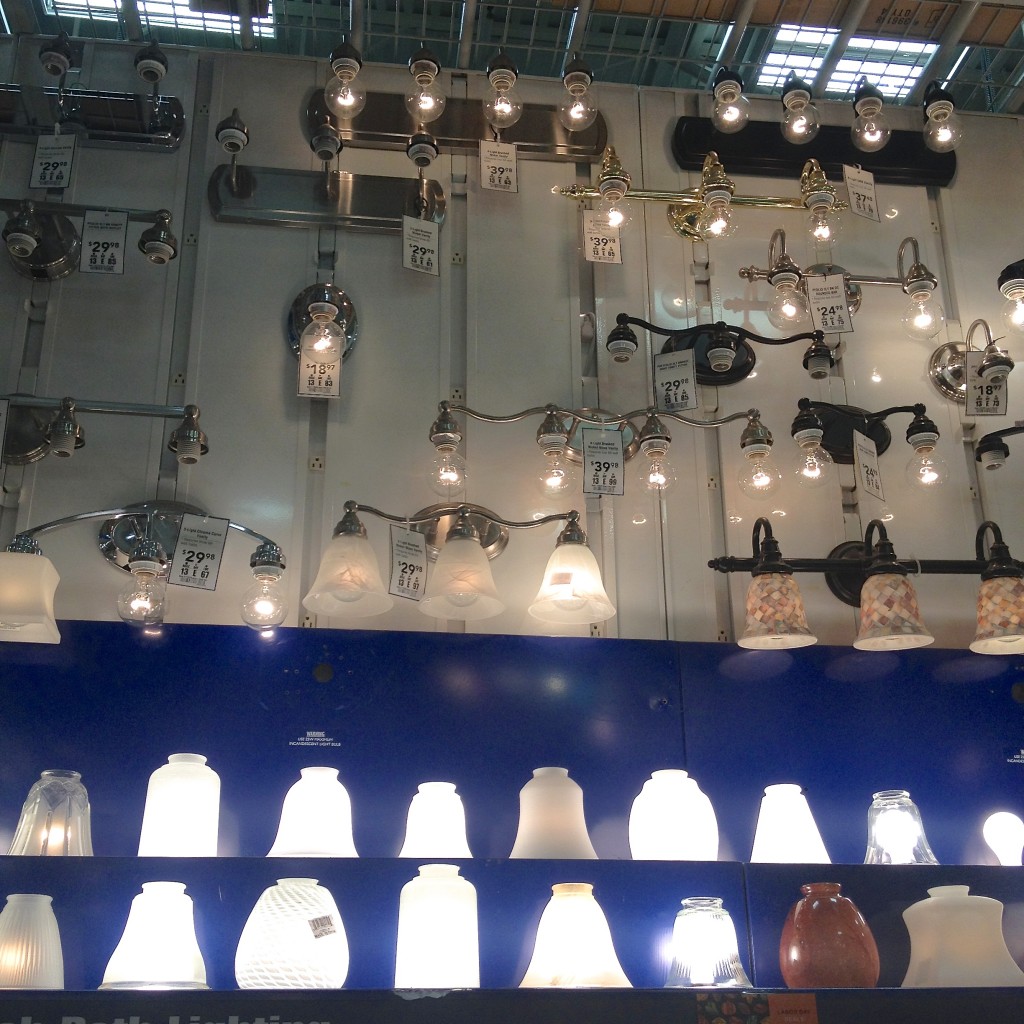
My trip to Lowes was obviously for something else and I just on a whim decided to get a new light fixture because this is the ridiculous way my mind works. I wasn’t loving any of the ones up on the wall though and didn’t love the prices either and was thinking- if I could just buy the wall mount and pick my own glass shades, that would be awesome!
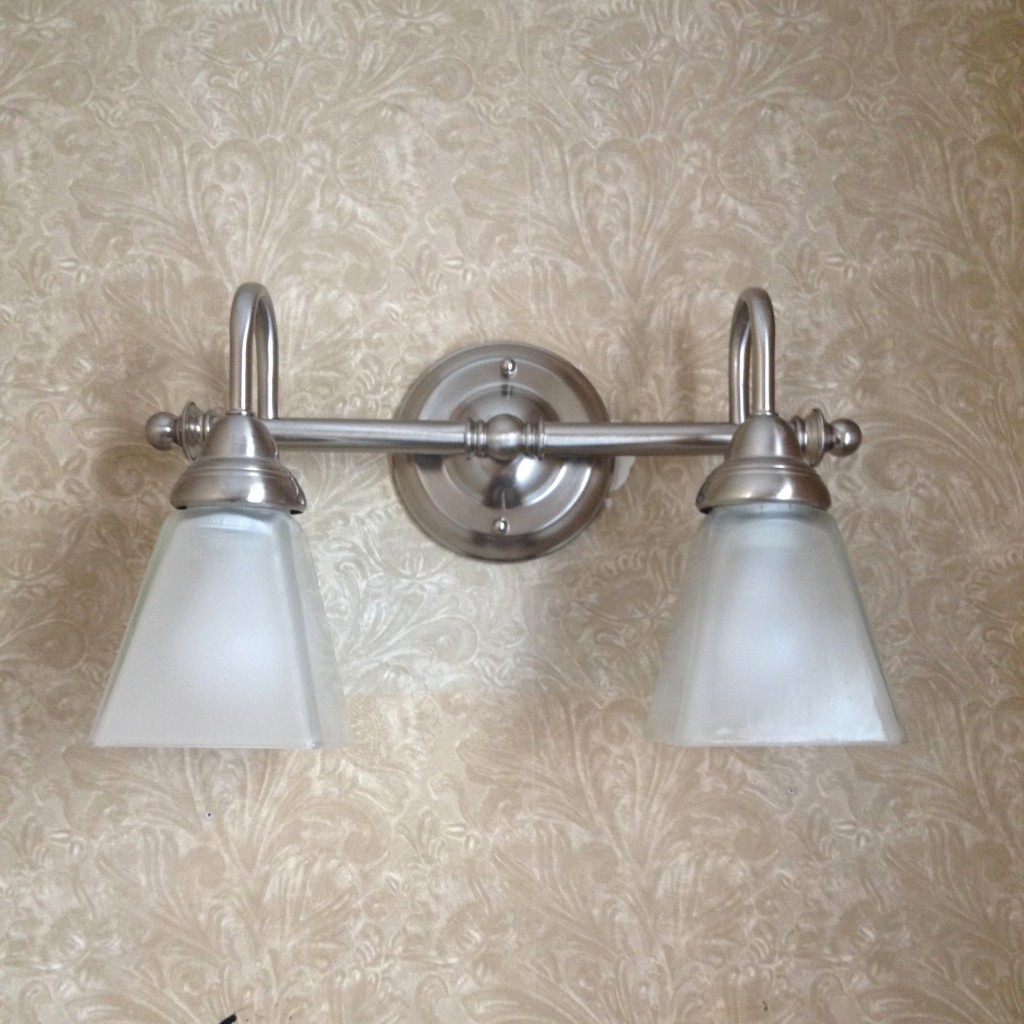
Well what do you know? I am not the first person to wish for this and had I walked down about 5 more feet I would have realized that was an option! yay! I pick my simple wall mount- $24.99- and then picked my two simple glass covers- $5 each.
I was excited and nervous when I got home because I knew that to keep this affordable, I had to install myself and I wanted to surprise the Hubs with it (meaning I didn’t want to let him know that this was the start of a powder room overhaul).
Tutorial:
Safety First!!
Turn your Power Off and double check that it is off.
Next unscrew the little nuts that are on the wall plate. I chose not to take off my glass shades because well… they wouldn’t come off- but if yours do, that would make it all easier.
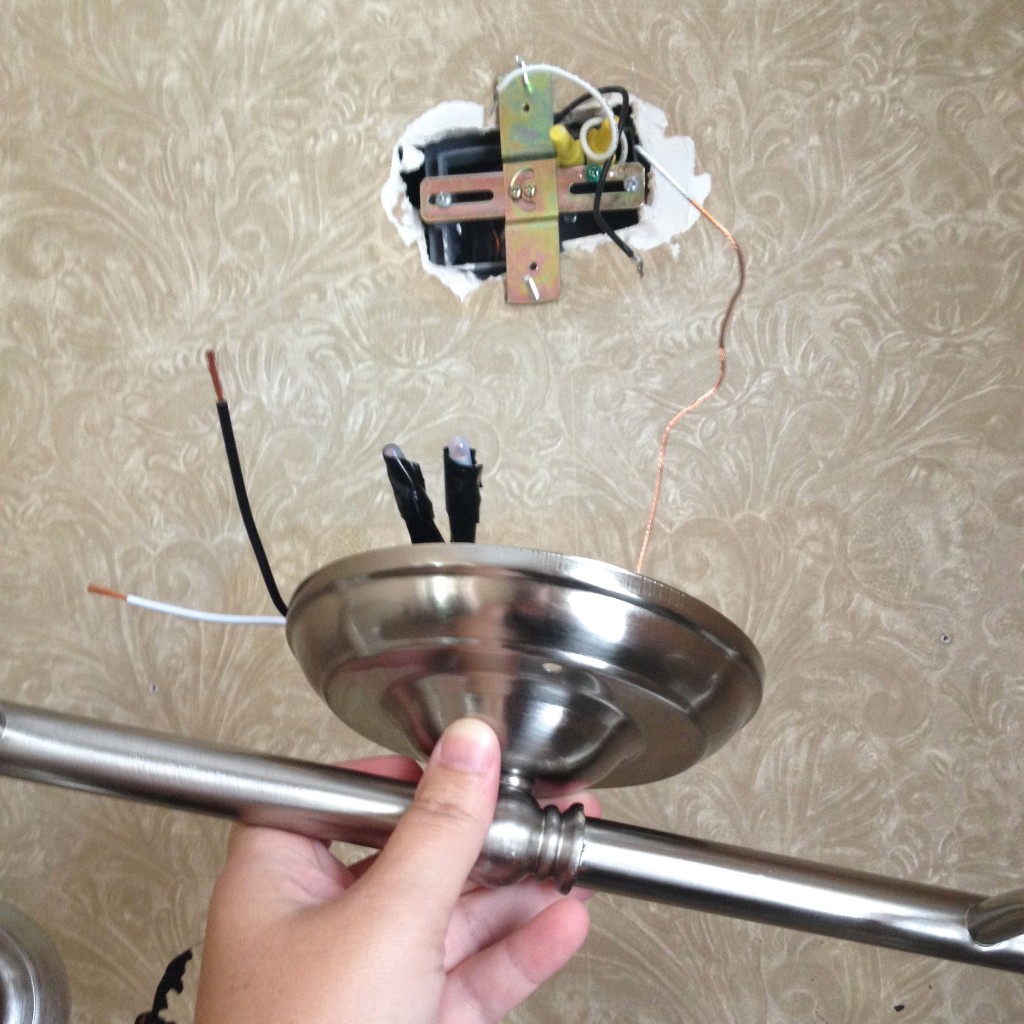
Once you can pull the wall plate away from the wall a bit, pull off the little caps that are connecting the two sets of wires and you should be able to take it down!
Now you are ready to install the new one- connect your wires- same colors to same colors- white to white and black to black- by twisting them together and then putting the little caps on them. I also put electrical tape around the caps to ensure they stay in place.
I then wrapped the little copper wire around the small green screw on the mounting plate- this is the grounding wire and keeps you from ever looking like Elvira and getting electrocuted.
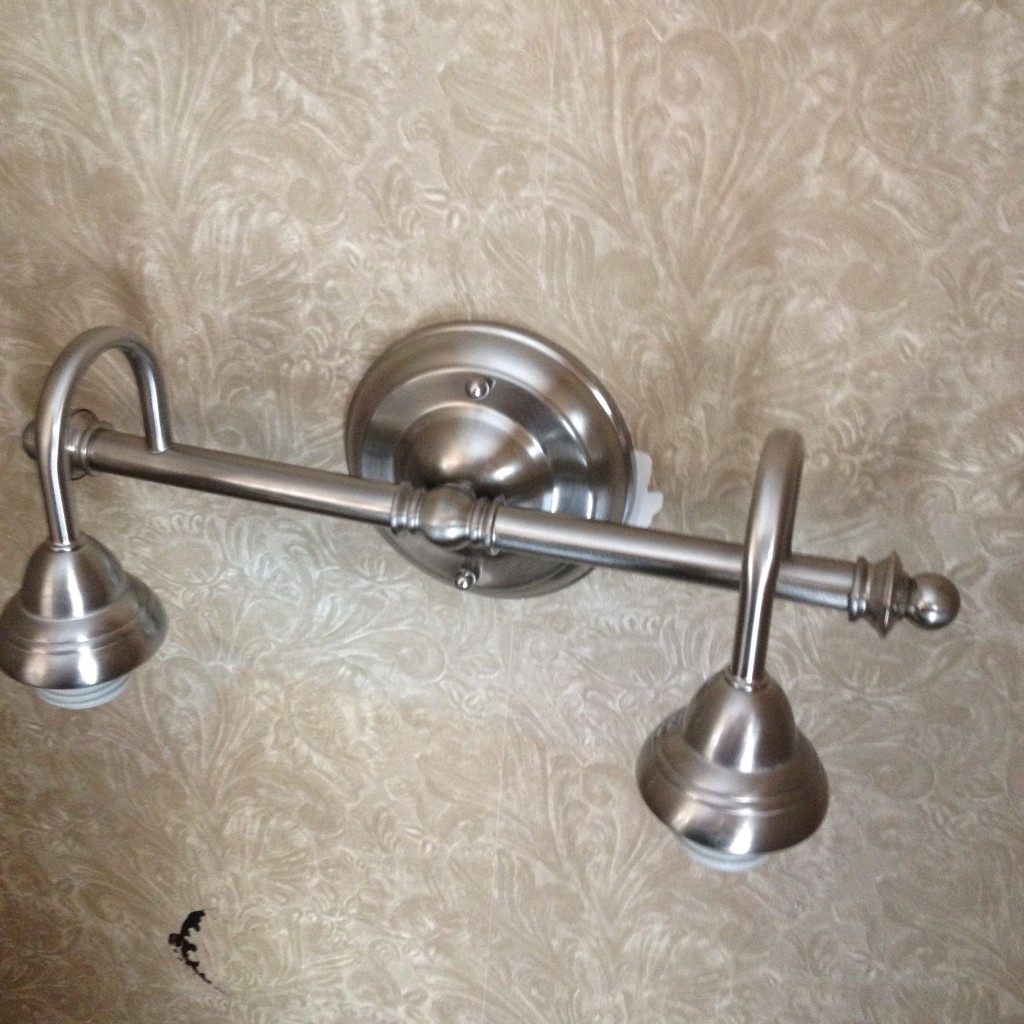
Then screw on your caps and you have a new light fixture! Add bulbs and the glass shades and do a dance being careful not to hurt yourself because you are in a small powder room
Seriously easy and such an update!
This was the first part of my powder room redo and I can’t wait to show you the progress- here’s a hint- that wallpaper is Gonzo!!
xoxo
B

Isn’t it easy? You did a great job! Looking forward to seeing the rest of the room!
Thanks Mel! It is coming along!