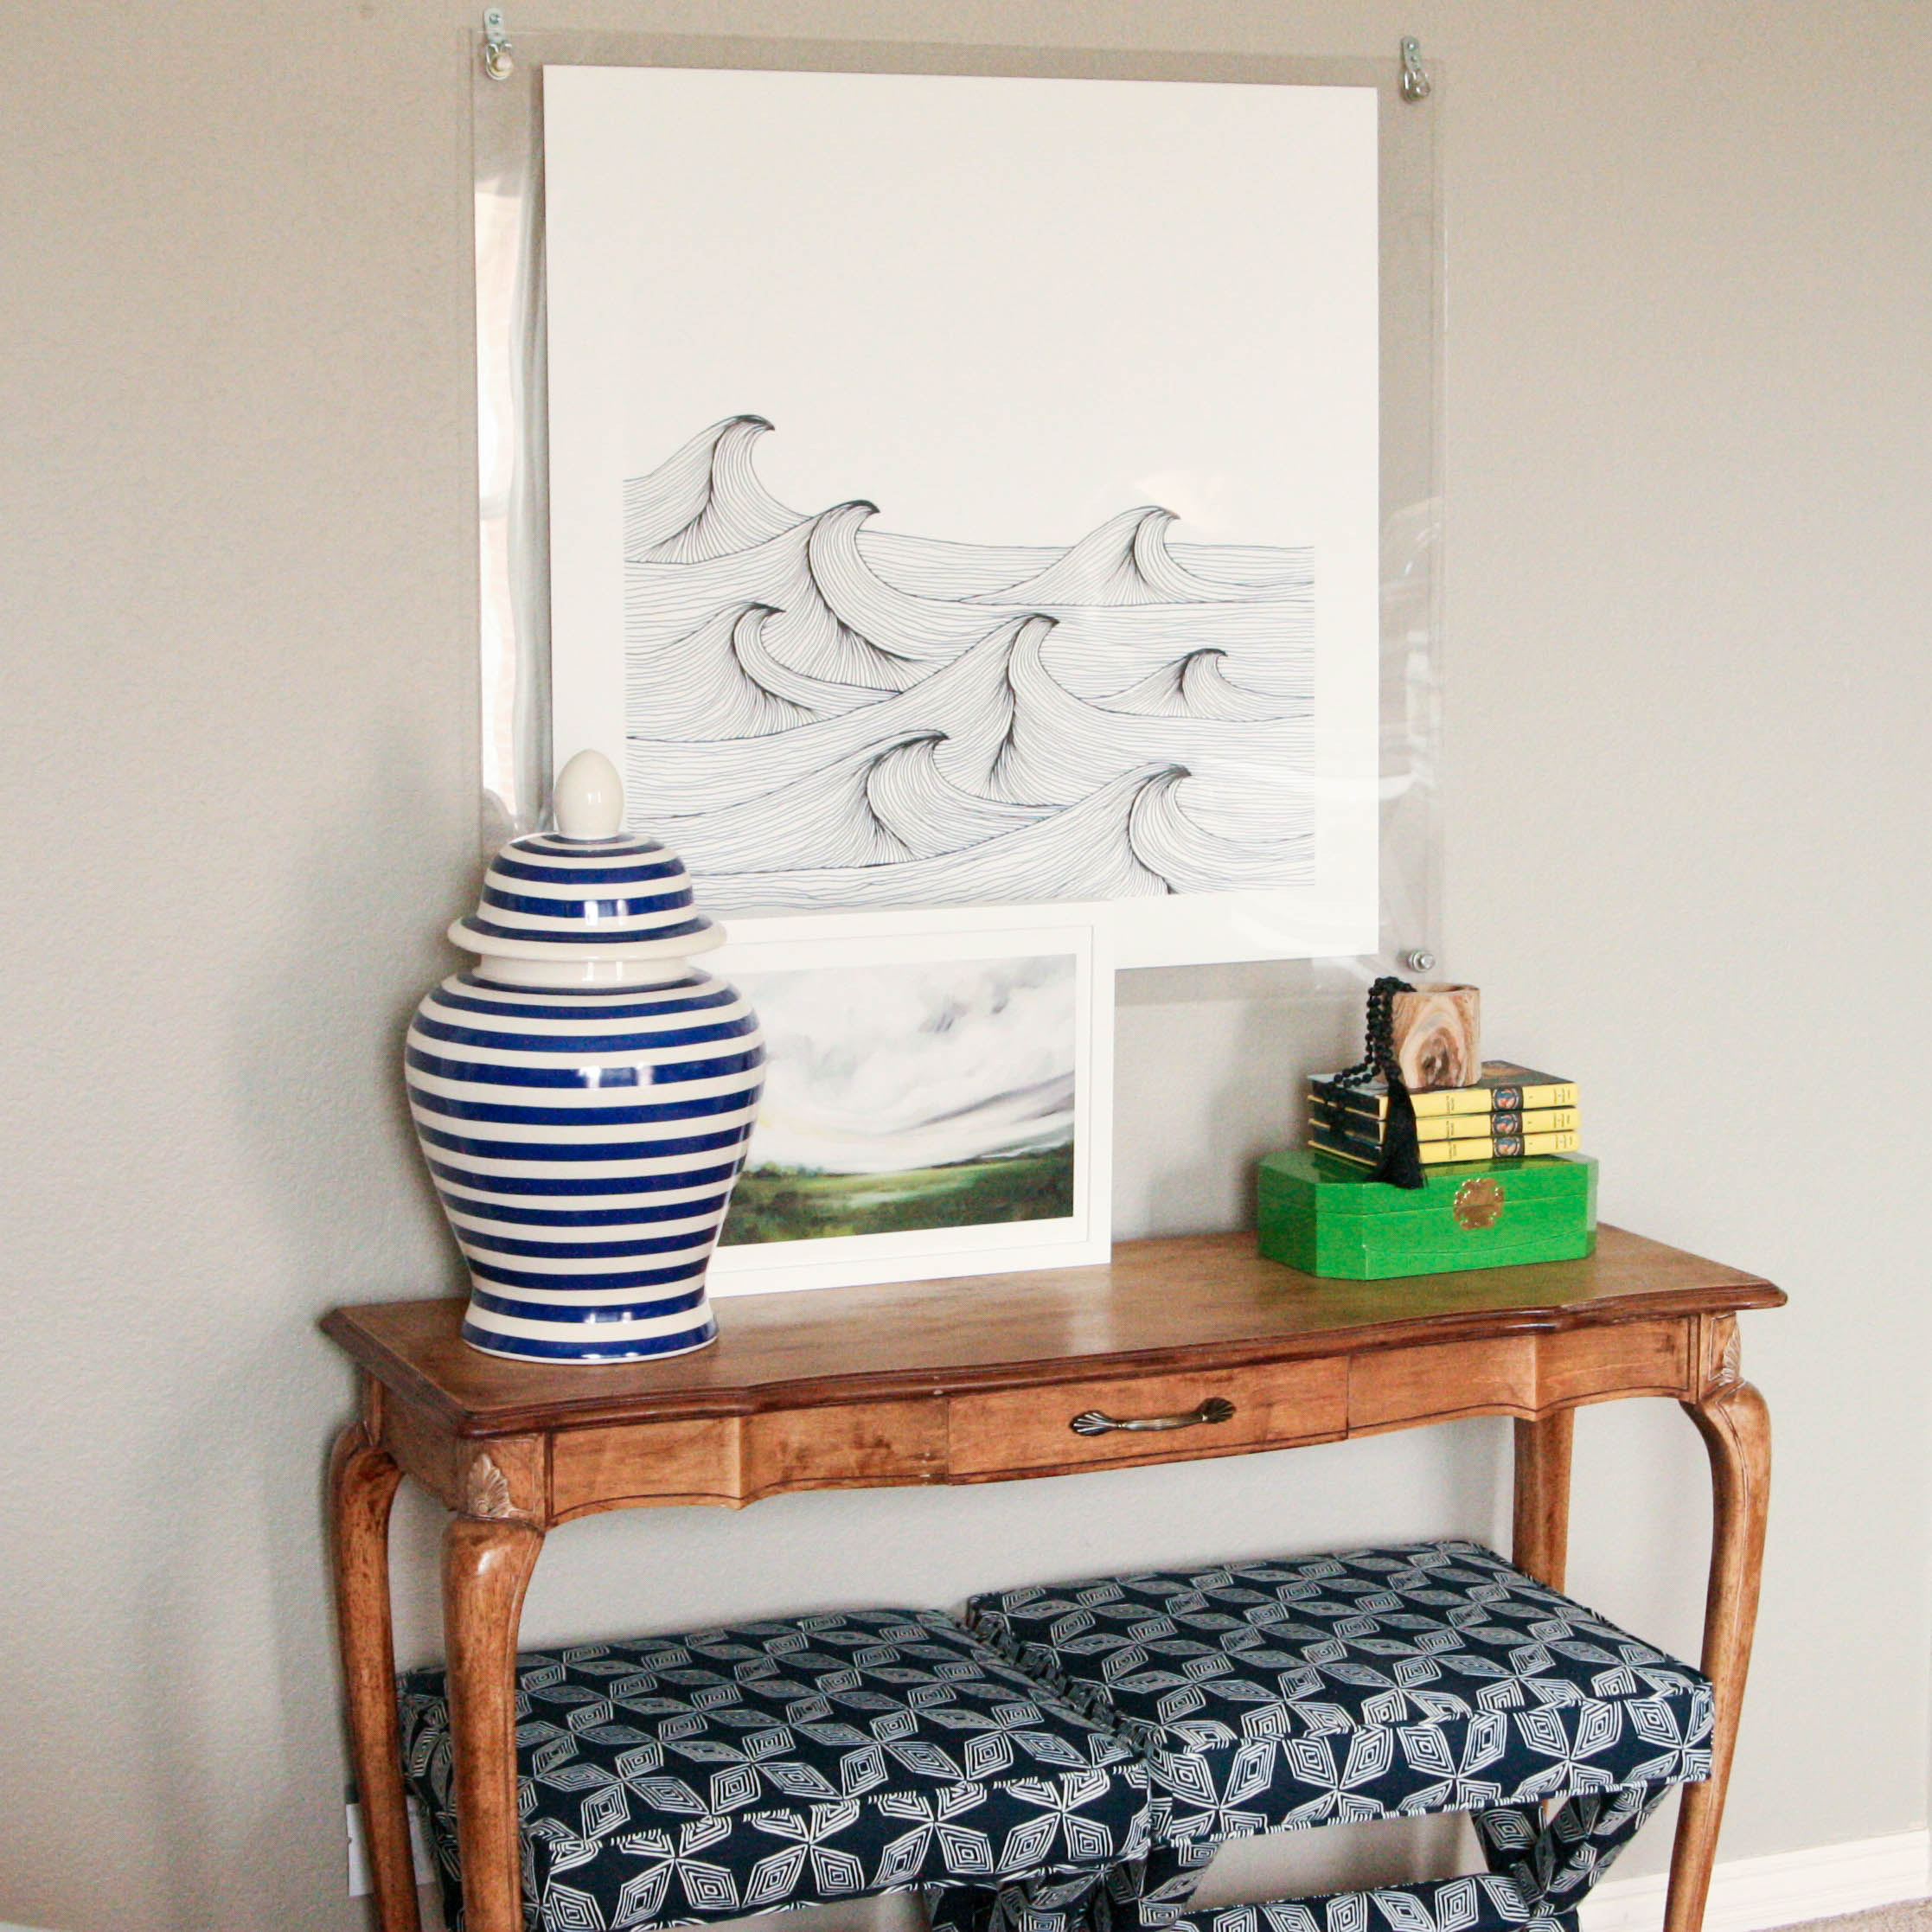
After receiving my gorgeous Minted artwork, I knew that it needed a simple frame to just stand out on it’s own. Unfortunately I couldn’t find what I was looking for- so I decided to try making my own Acrylic Picture Frame.
I have seen tutorials and others do it and it always looks so simple and gorgeous!
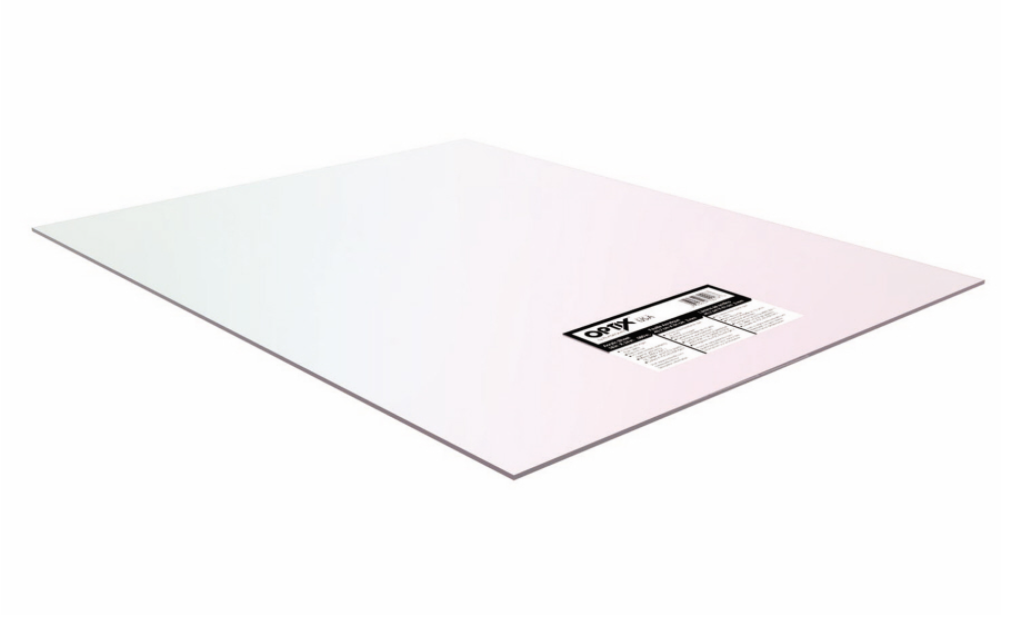
I headed to Lowes (call ahead to make sure they can cut it down for you if need be) and found the sheets of acrylic. I knew what size I wanted so I had them cut them down and then headed home with a false sense of confidence!
| Source (affiliate) |
I say false because I planned on measuring, taping and drilling holes in the acrylic in order to attach and frame… well that went something like this…
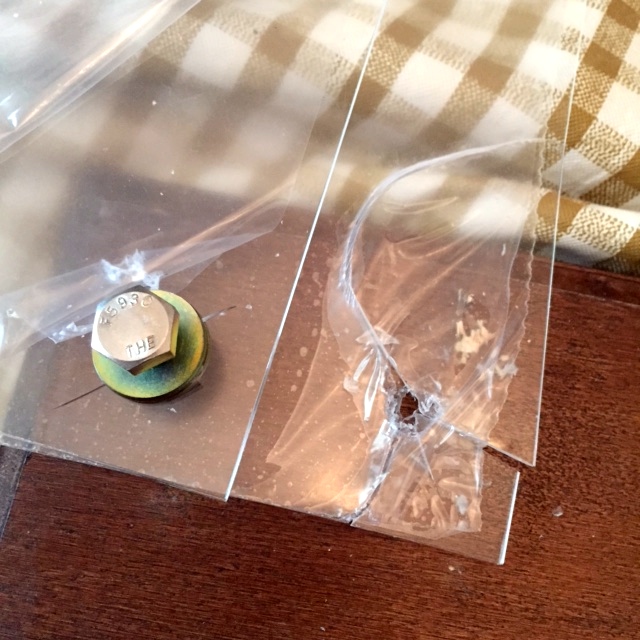 I may have used some choice words and then regrouped with a new game plan. I searched different ways to ‘drill’ through acrylic and finally came up with my own modified idea.
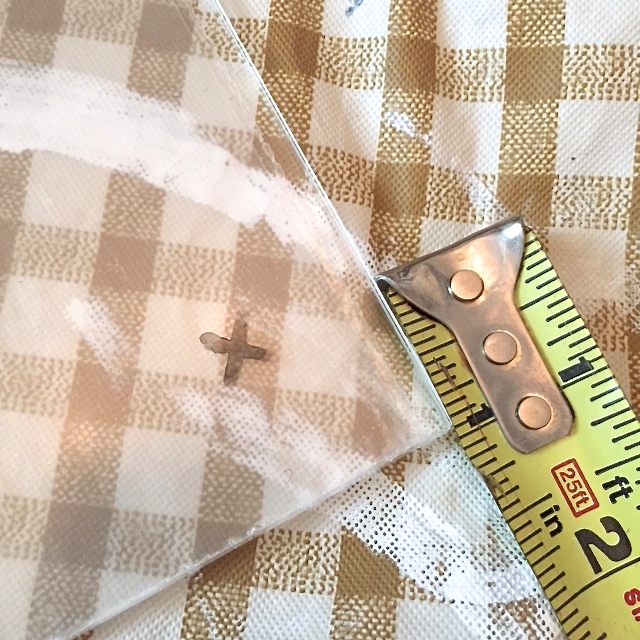
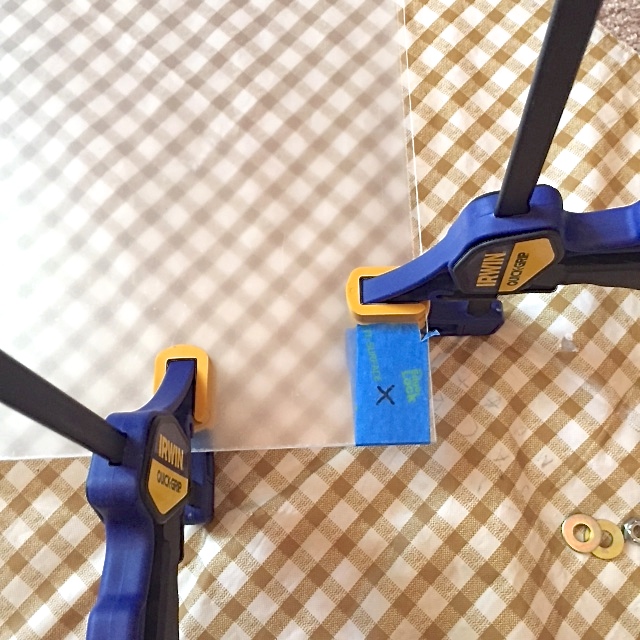
First mark the spot on your acrylic where your bolts will go. I found the largest nail I could in the garage- a set of clamps- gloves- my sunglasses, and turned on one of my stove burners. (it’s all sounding very professional, no?)
Wearing gloves, because the heat will travel and that nail is gonna be super hot, and sunglasses incase anything decides to crack and fly at you, you will clamp your nail and hold it in the flame.
 After you have held it there for awhile- maybe 30 seconds, give it another 30 seconds;) and then head over to your marked acrylic. (side note- make sure the acrylic is placed up off the ground so that you don’t burn through something below it!) Place your nail directly on your marked spot and it should melt like butter right through it!
 I did have to use a couple different nails because after a couple of uses they had built up some acrylic on the nail heads.
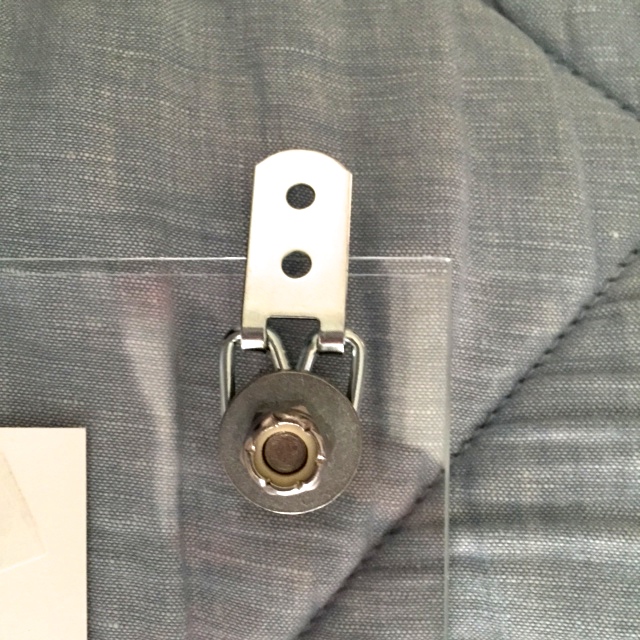
Now that you have your holes done- place your artwork between the sheets (I did use some double sided tape on the back to ensure it stayed in place) and then put in your screws, spacers, and nuts. On the top two, I took out the spacers because I put on a hanger.
Now all you have to do is hang her up! This is a large frame so the acrylic is pretty heavy, so I do recommend finding a stud or using wall anchors.
Simple and lets the art work stand on it’s own. If you want to learn more about the artwork you can go Here.
And don’t forget to Pin here for later!
I have some acrylic left so I’m excited to make some other smaller frames now too- and please feel free to ask any questions on the process!
xoxo
B
Sharing with:

I have to make 4 of these and your hanging solution is GENIUS! The first acrylic frames I made have a visible wire… this is much better! xx