**Affiliates may be present but all opinions are my own**
We have been without a dining room table for about a year now. Hold your gasps. I sold our old one because it was just not me and we never sat at it! It has been heaven to have the space to work on furniture during the summer as well, when I can’t possibly get paint to dry in the garage.
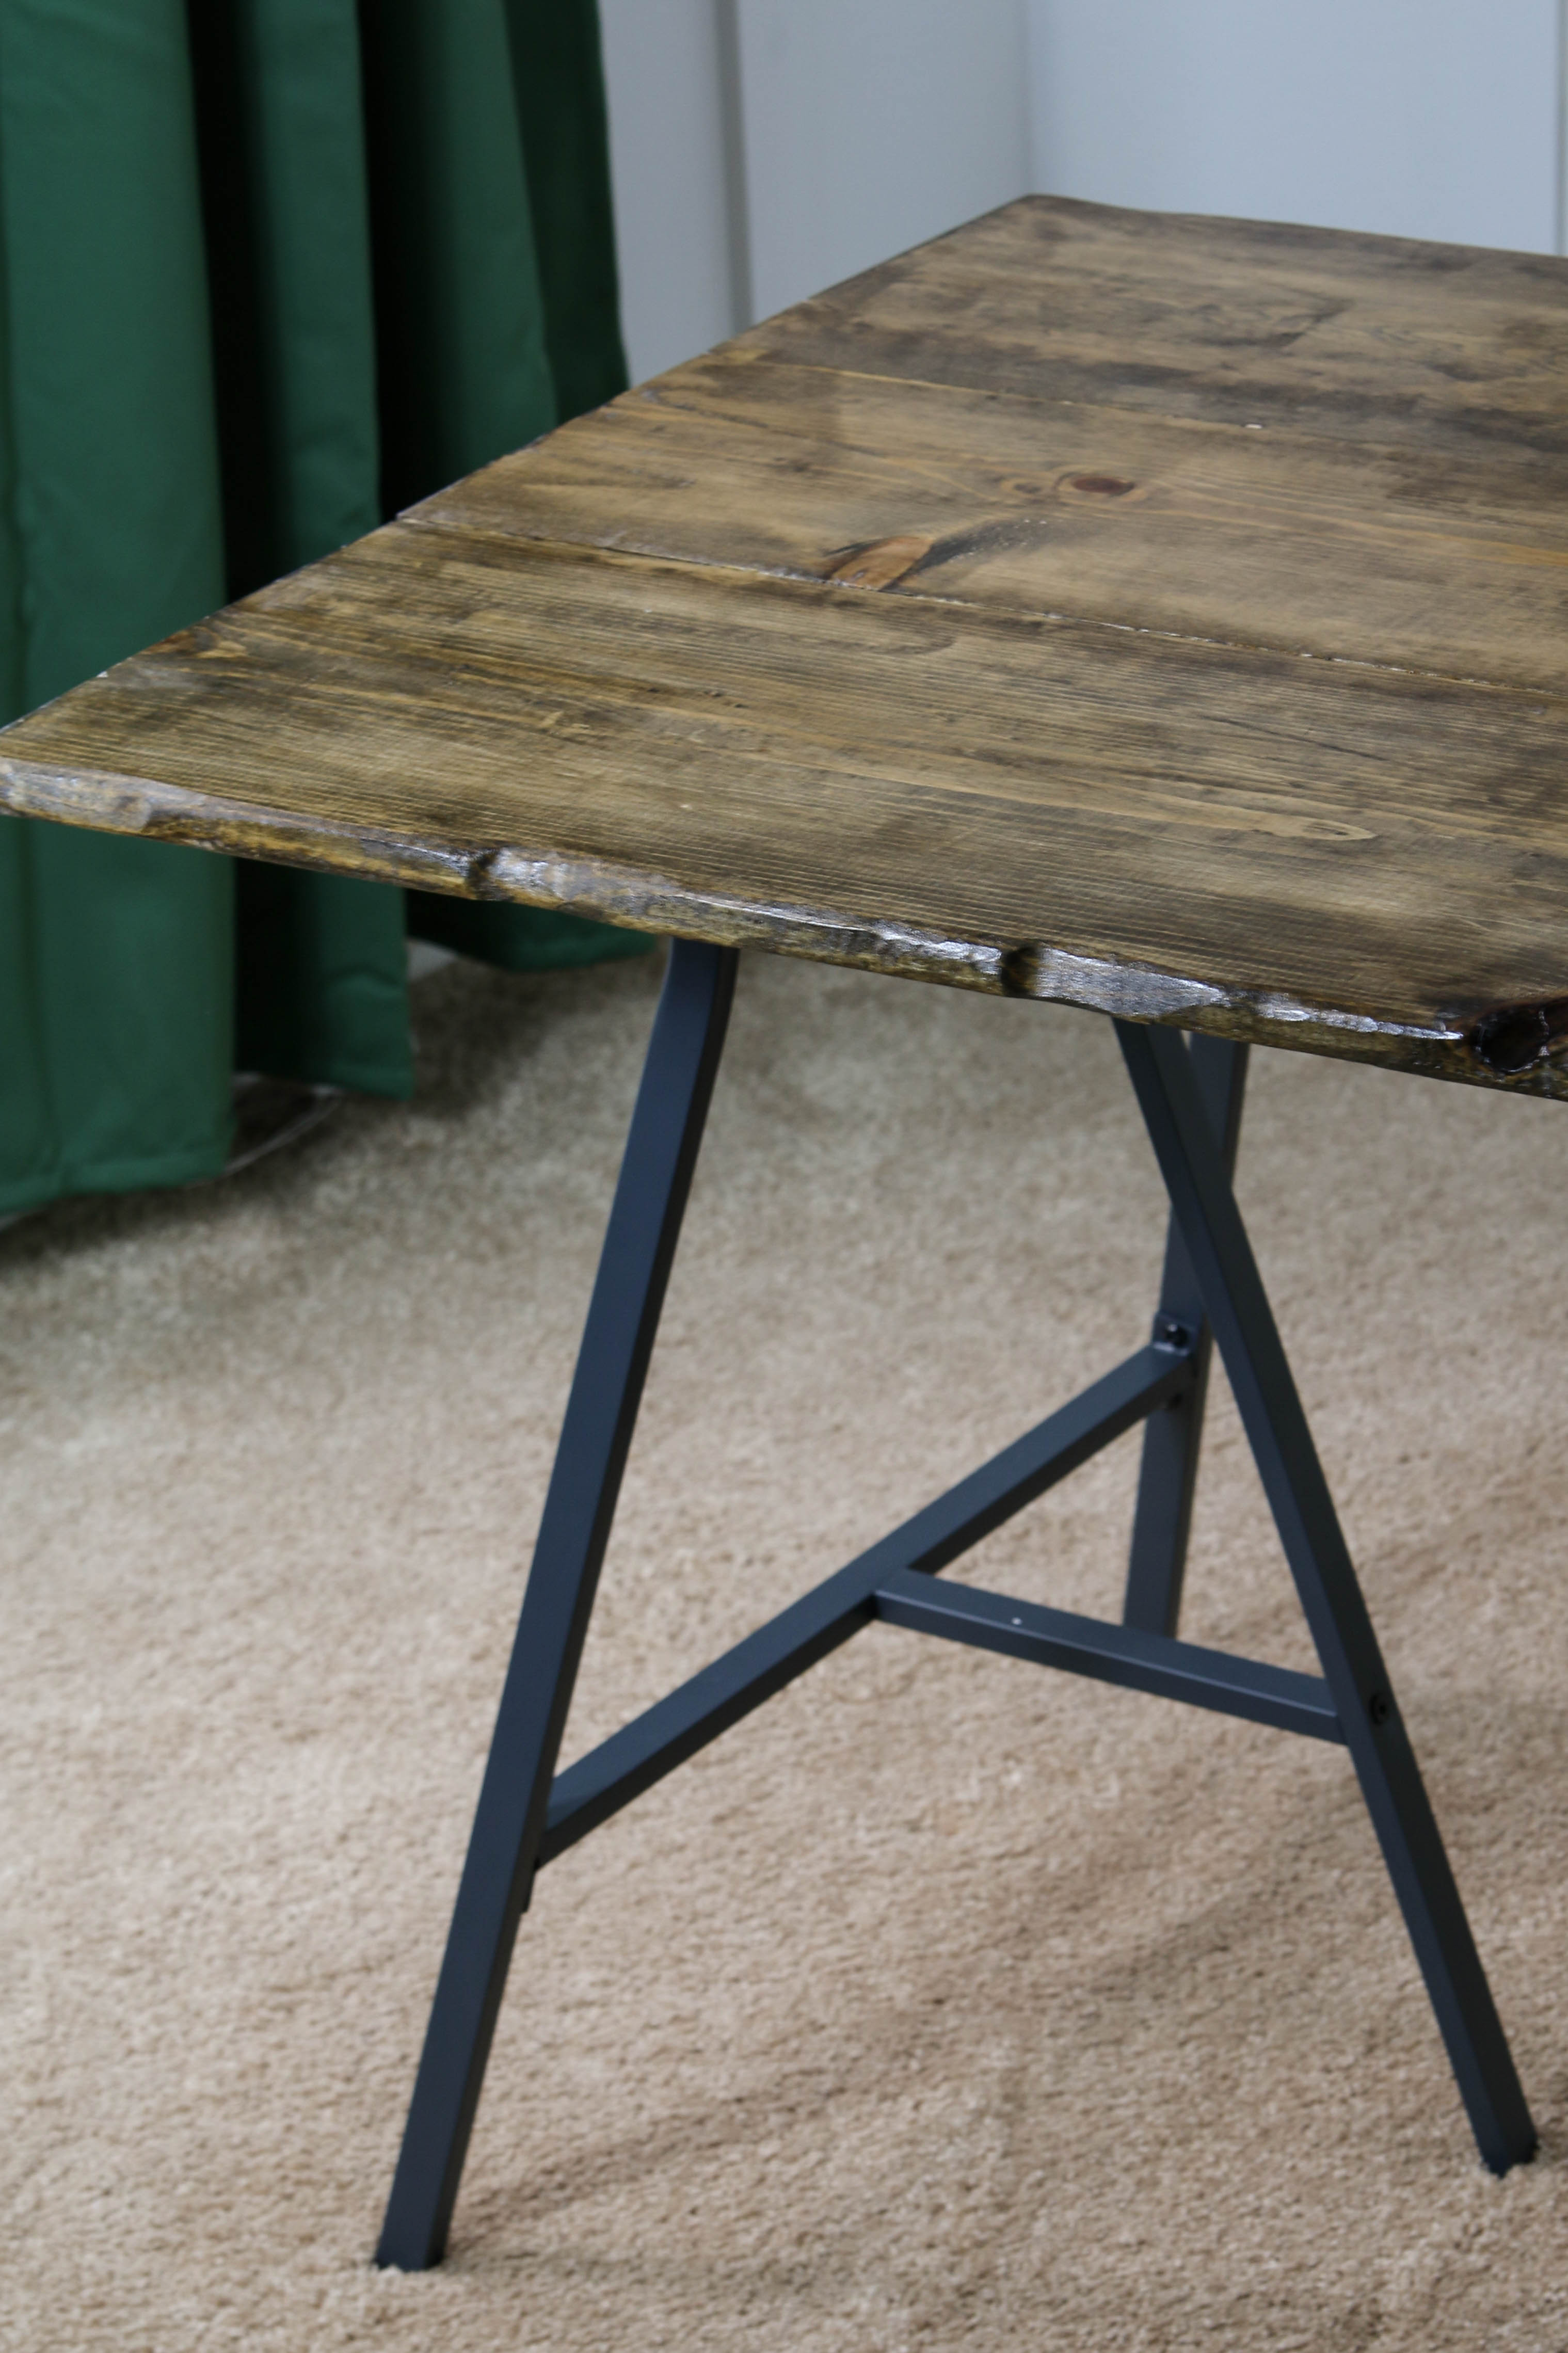
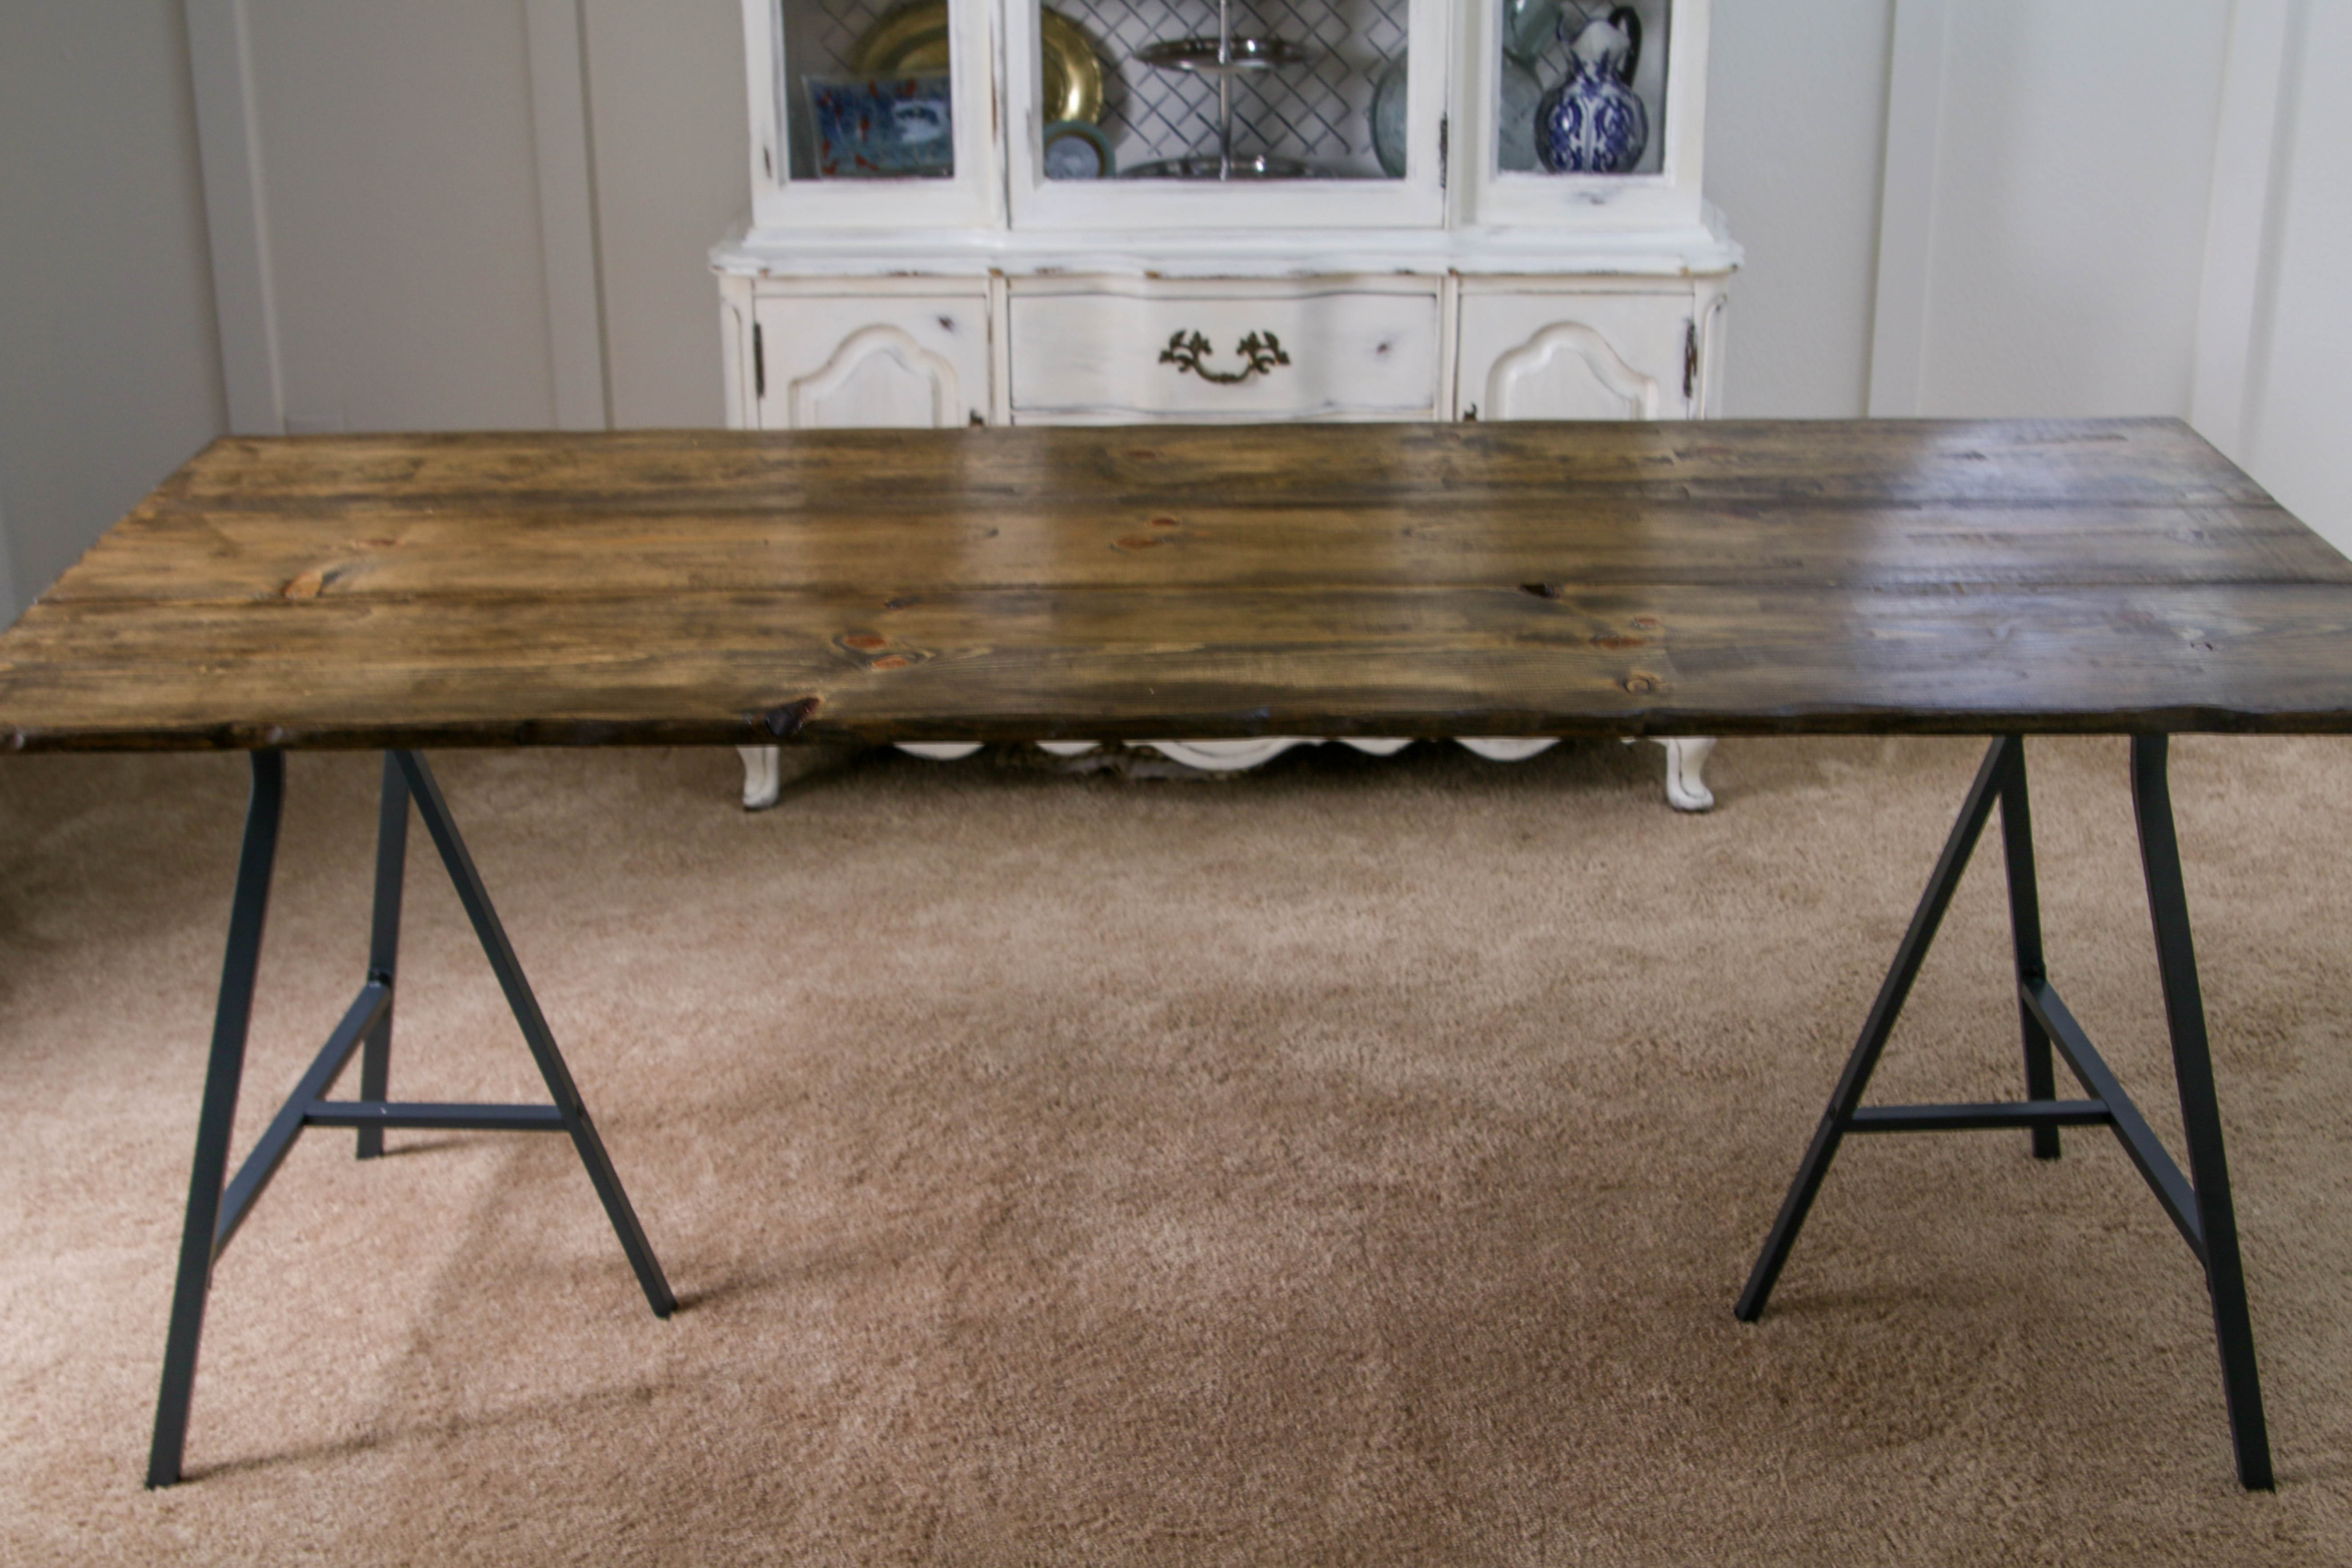
But the holiday season is upon us and I got an itch to have a nice dining area again! I knew I didn’t want to buy anything expensive and I also wanted to be able to disassemble easily should I need the space again. So I decided to build one, but I wanted to try and give it some more interest than just a few boards. This turned into me trying to recreate a live edge table!
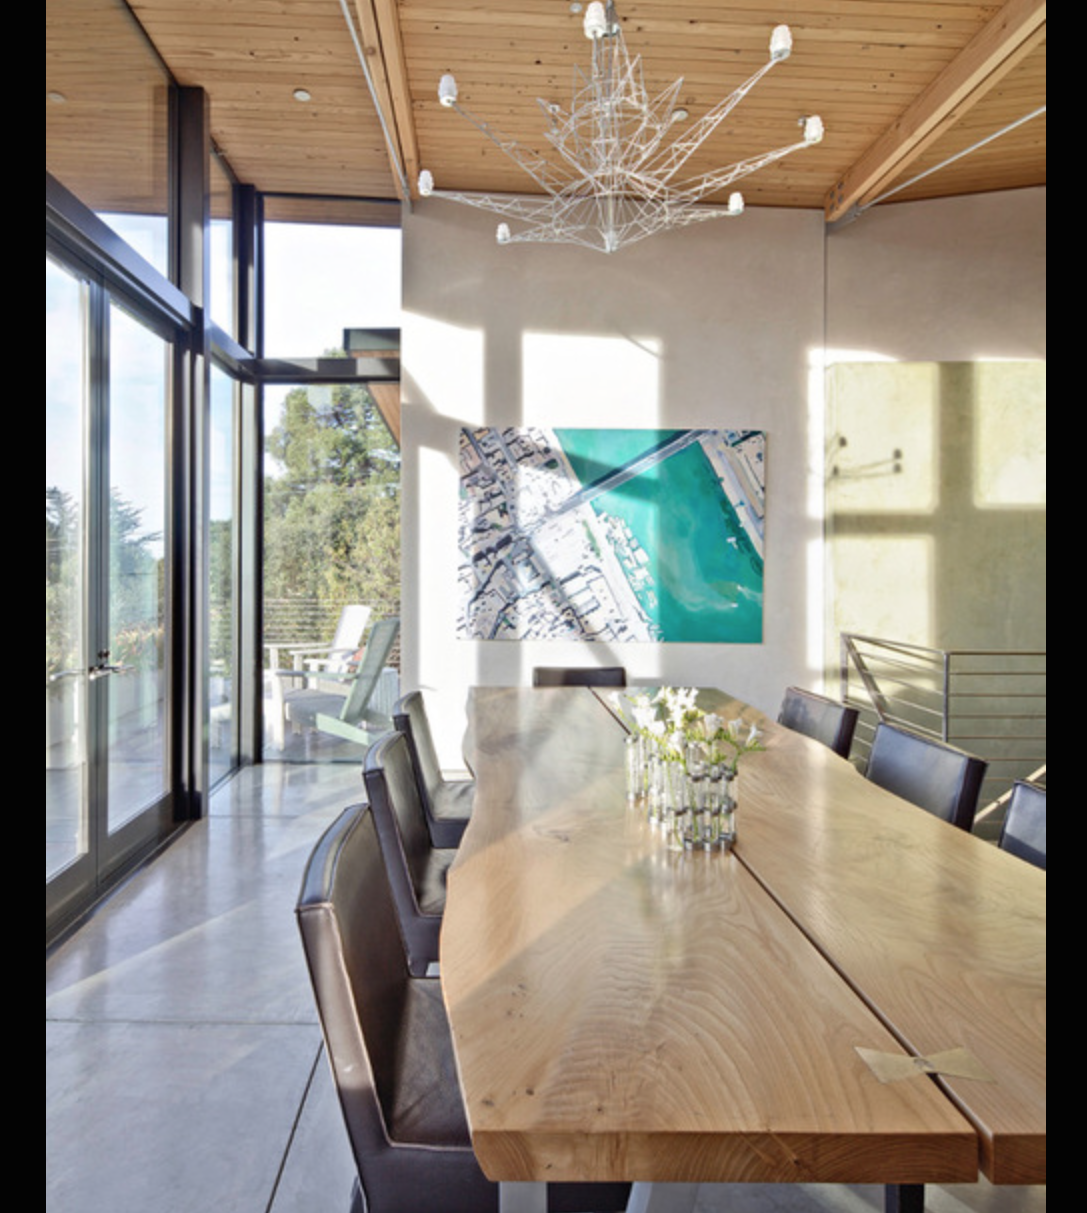
I was aware that this might not turn out how I had hoped but decided I could sand it out if I hated it or make it into fire wood. Here was my inspiration…
I wasn’t going to be able to create the gorgeous thick wood like this one due to the weight of it and the fact that I would need to be able to raise my children after I built it. But I loved the pretty lines!
Materials Used to make a 72 inch Dining Table:
- 2 8×12 boards (outer boards)
- 1 8×10 board (center board)
- 2 small backer boards (I just used scrap wood)
- gloves
- eye protection
- belt sander
- wood glue
- wood screws
- wood pre-stain solution (I used Minwax Pre- Stain)
- stain (I used
- poly (I used Triple Thick Varathane)
- brushes
I have finally learned my lesson- make my list and have everything right on hand before I start! And yes, there are affiliate links included but that is just so you can easily see what I am using- I wasn’t provided with any product for this project.
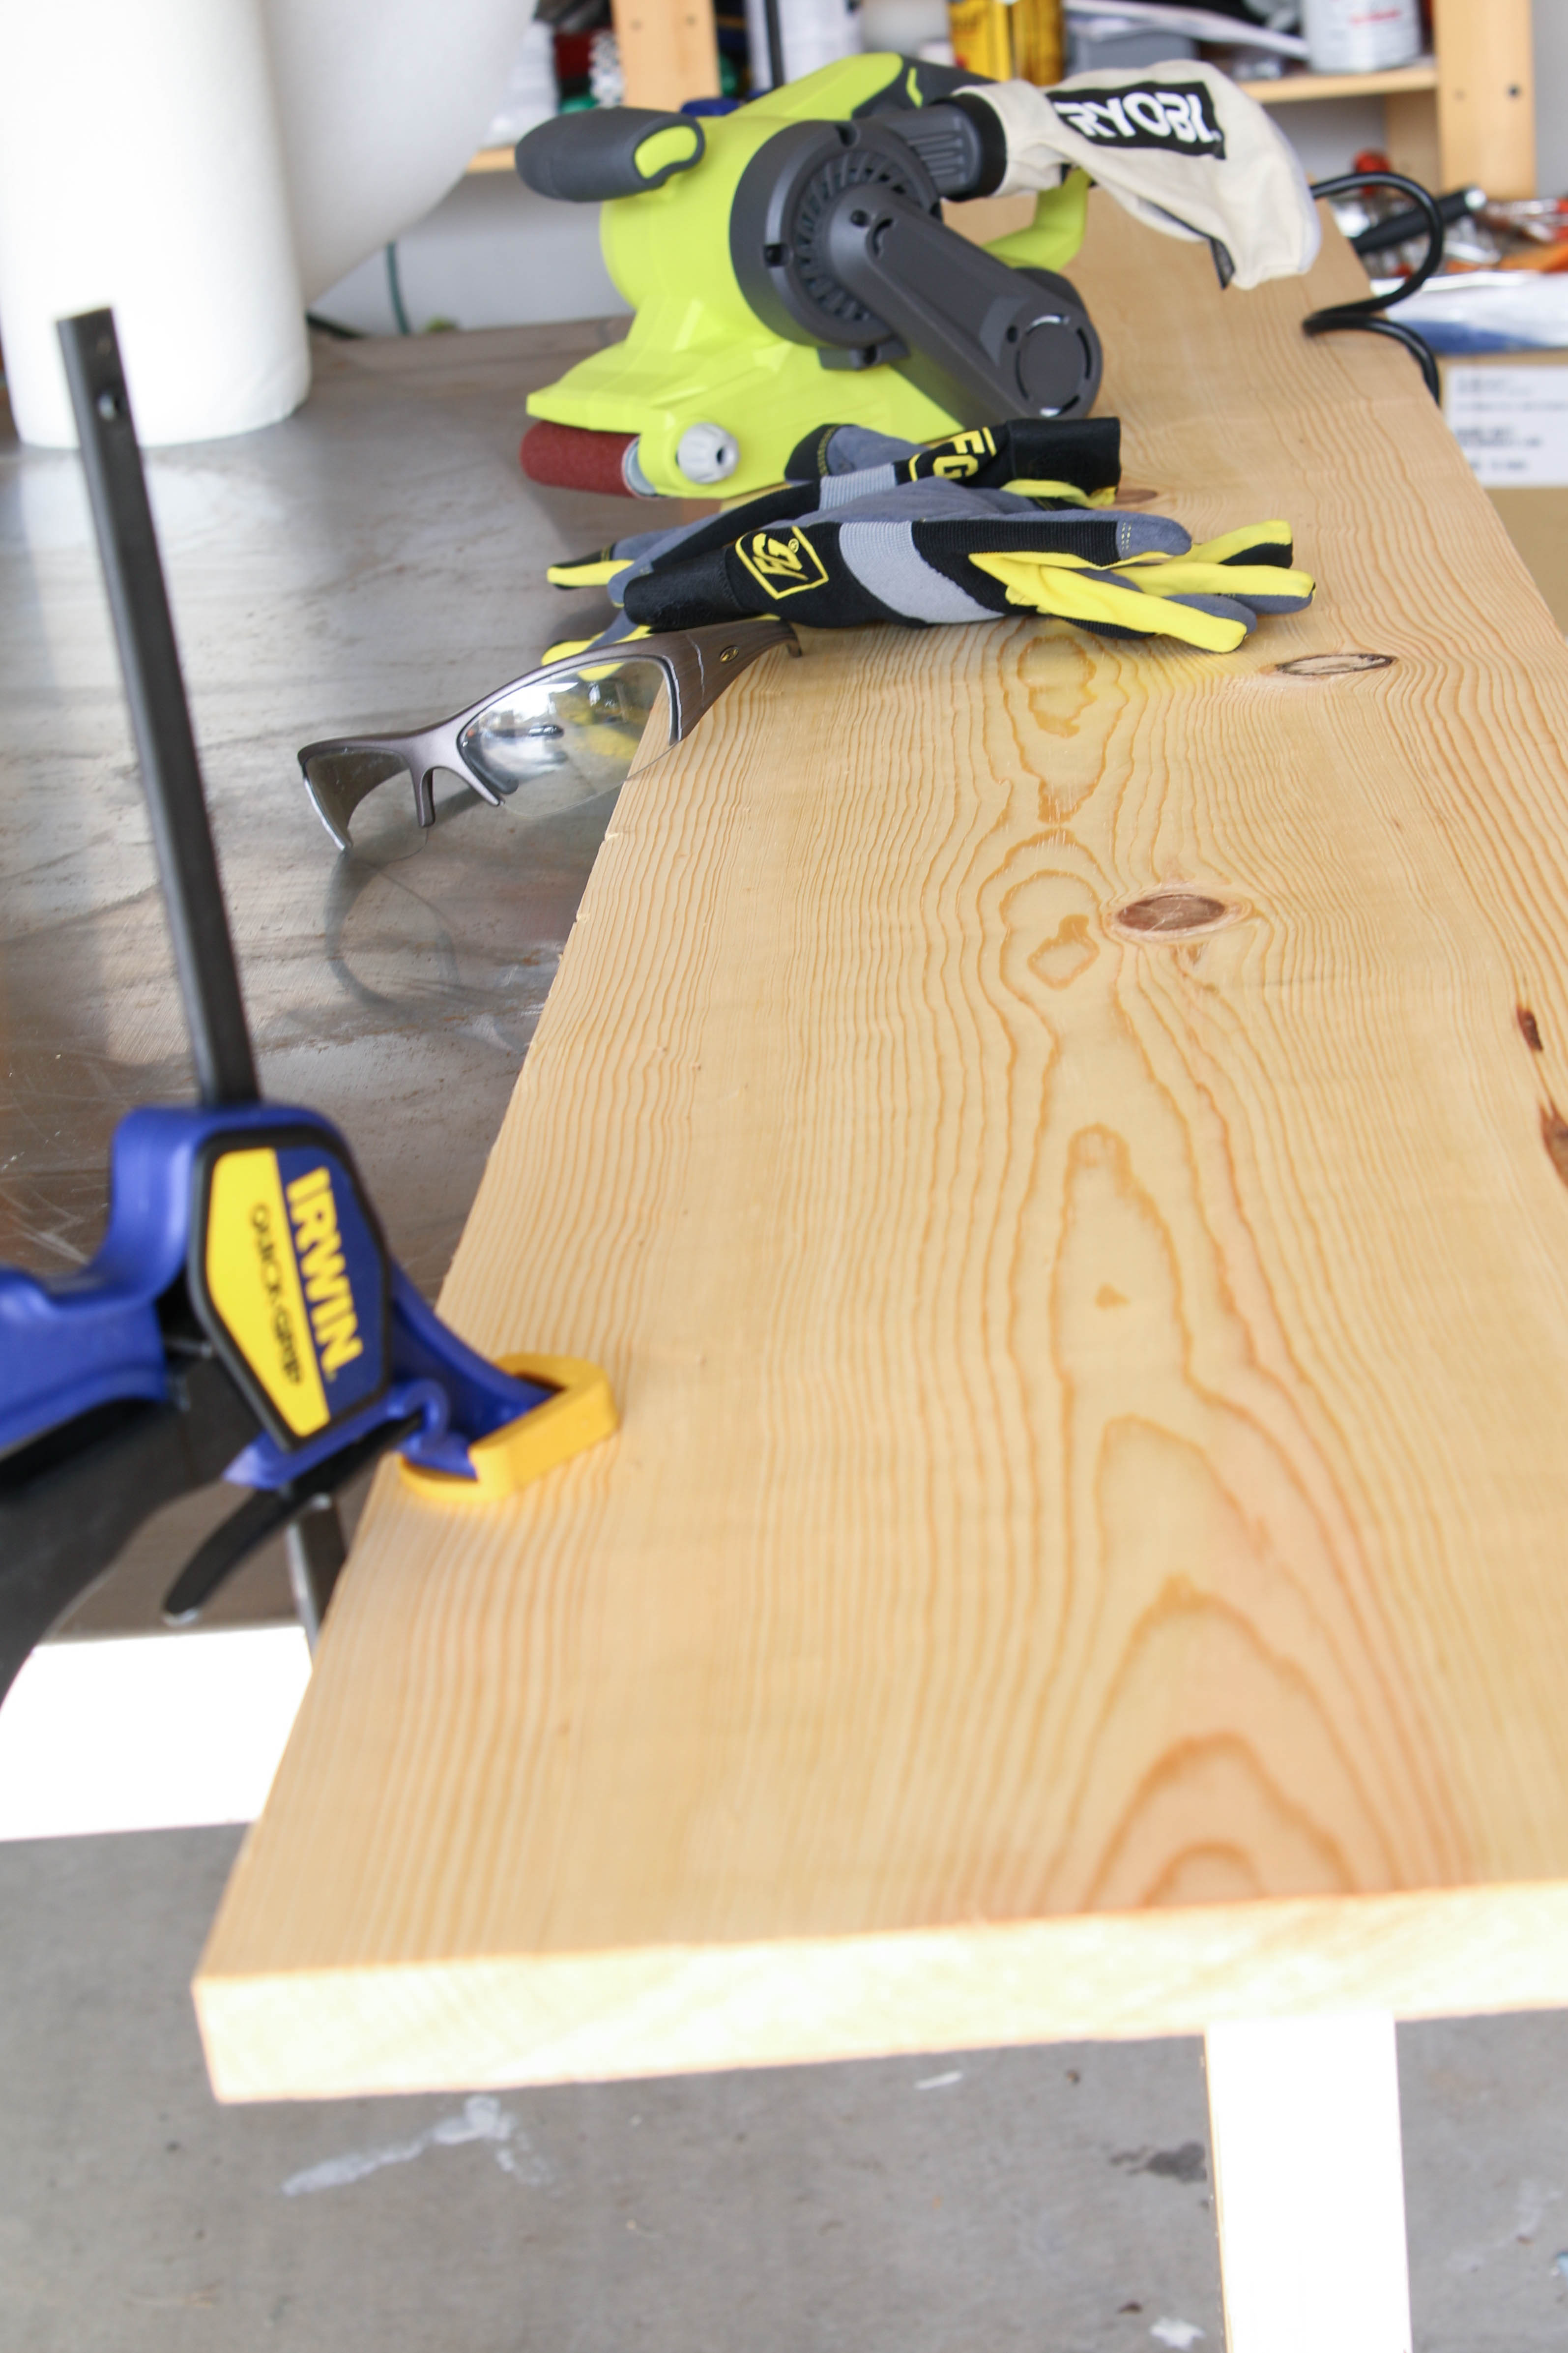
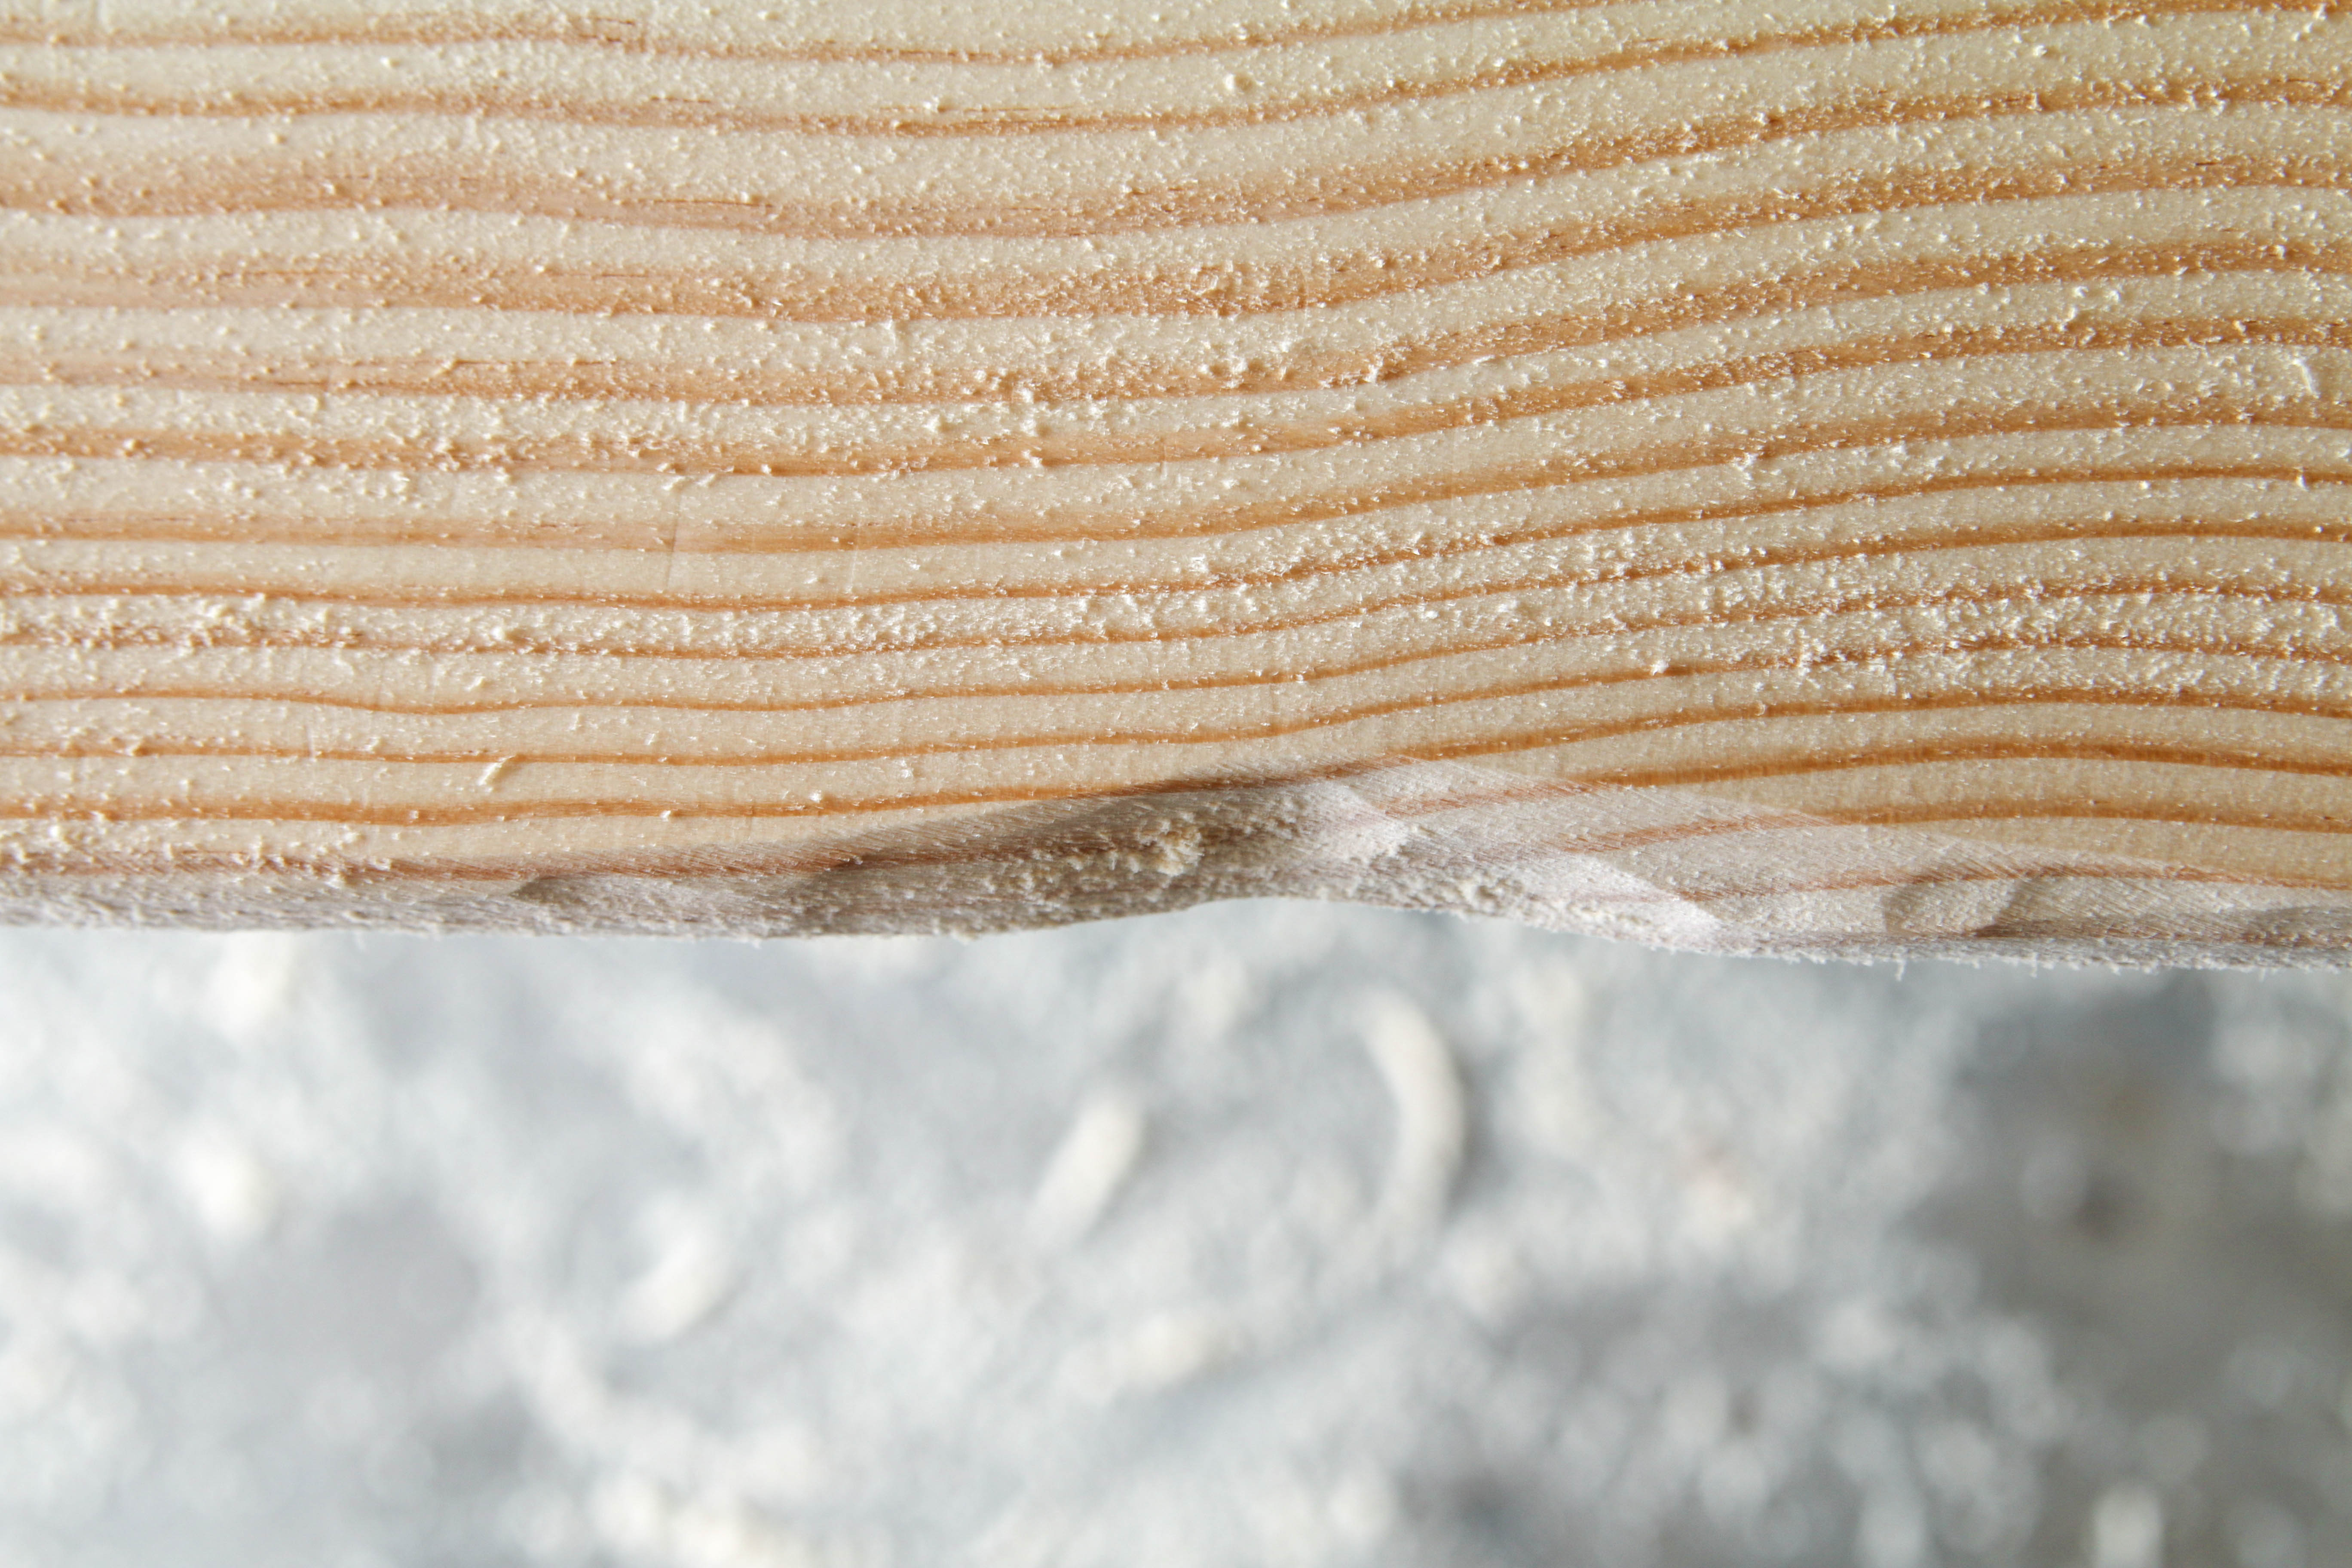
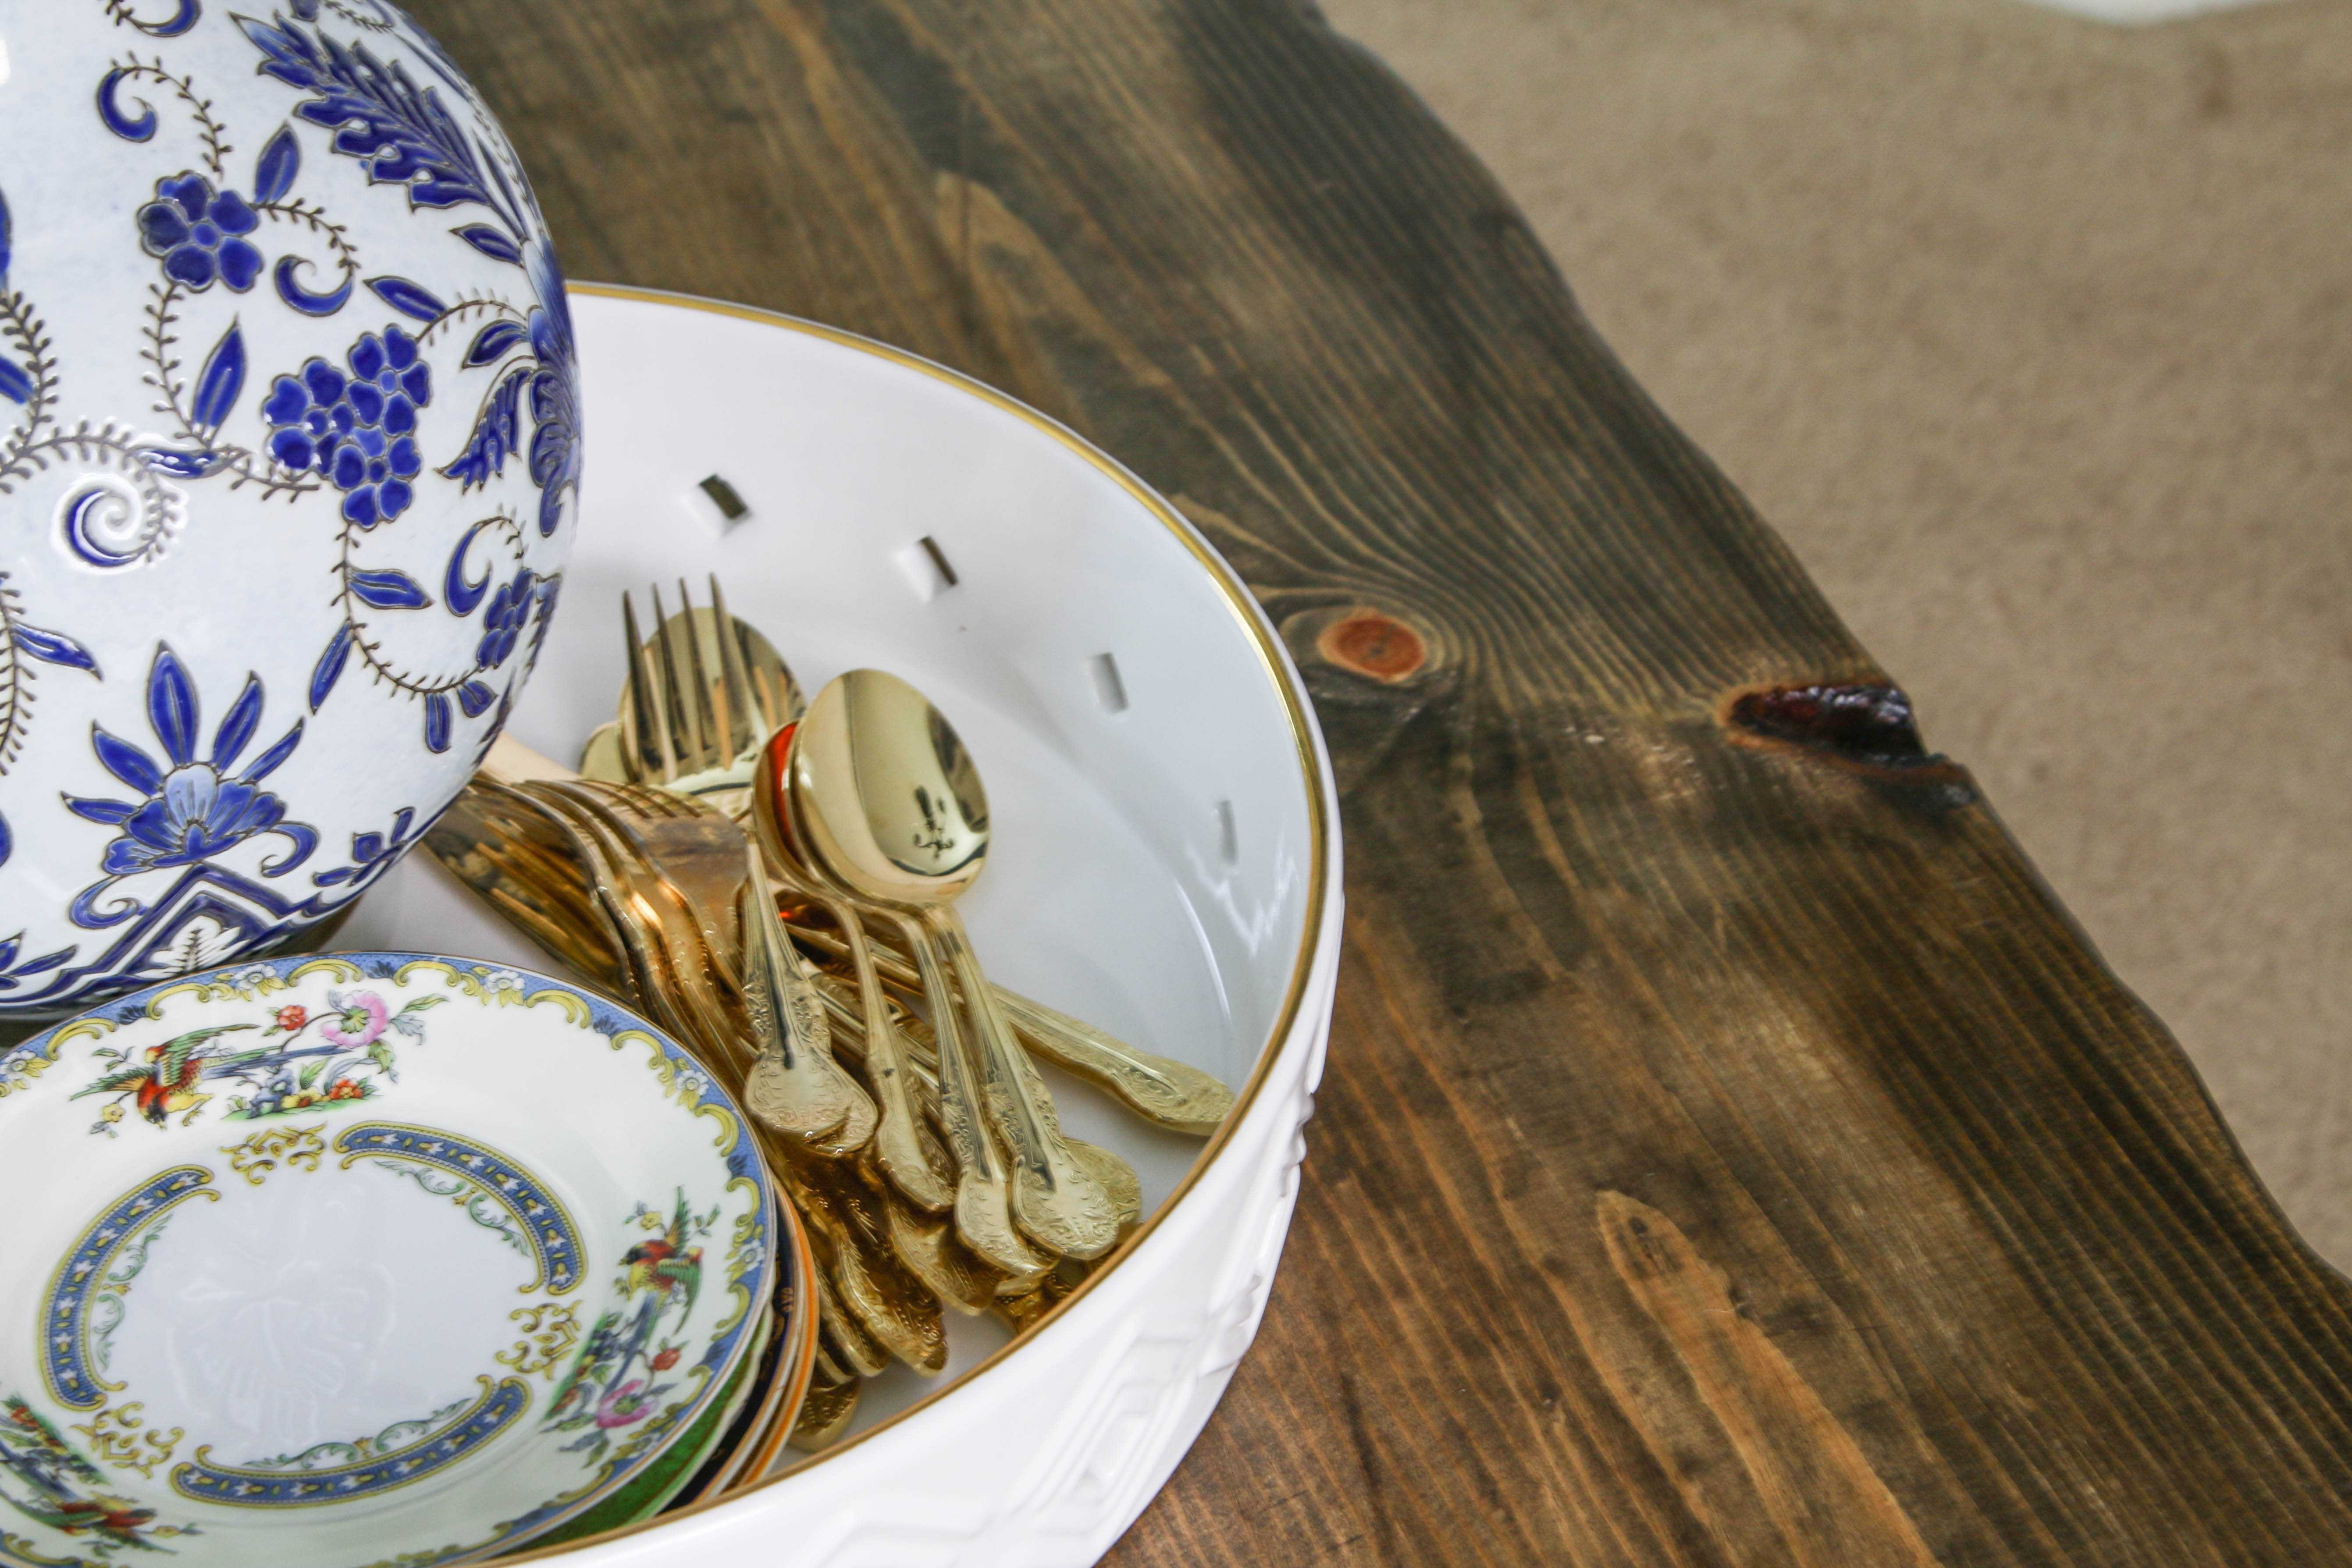
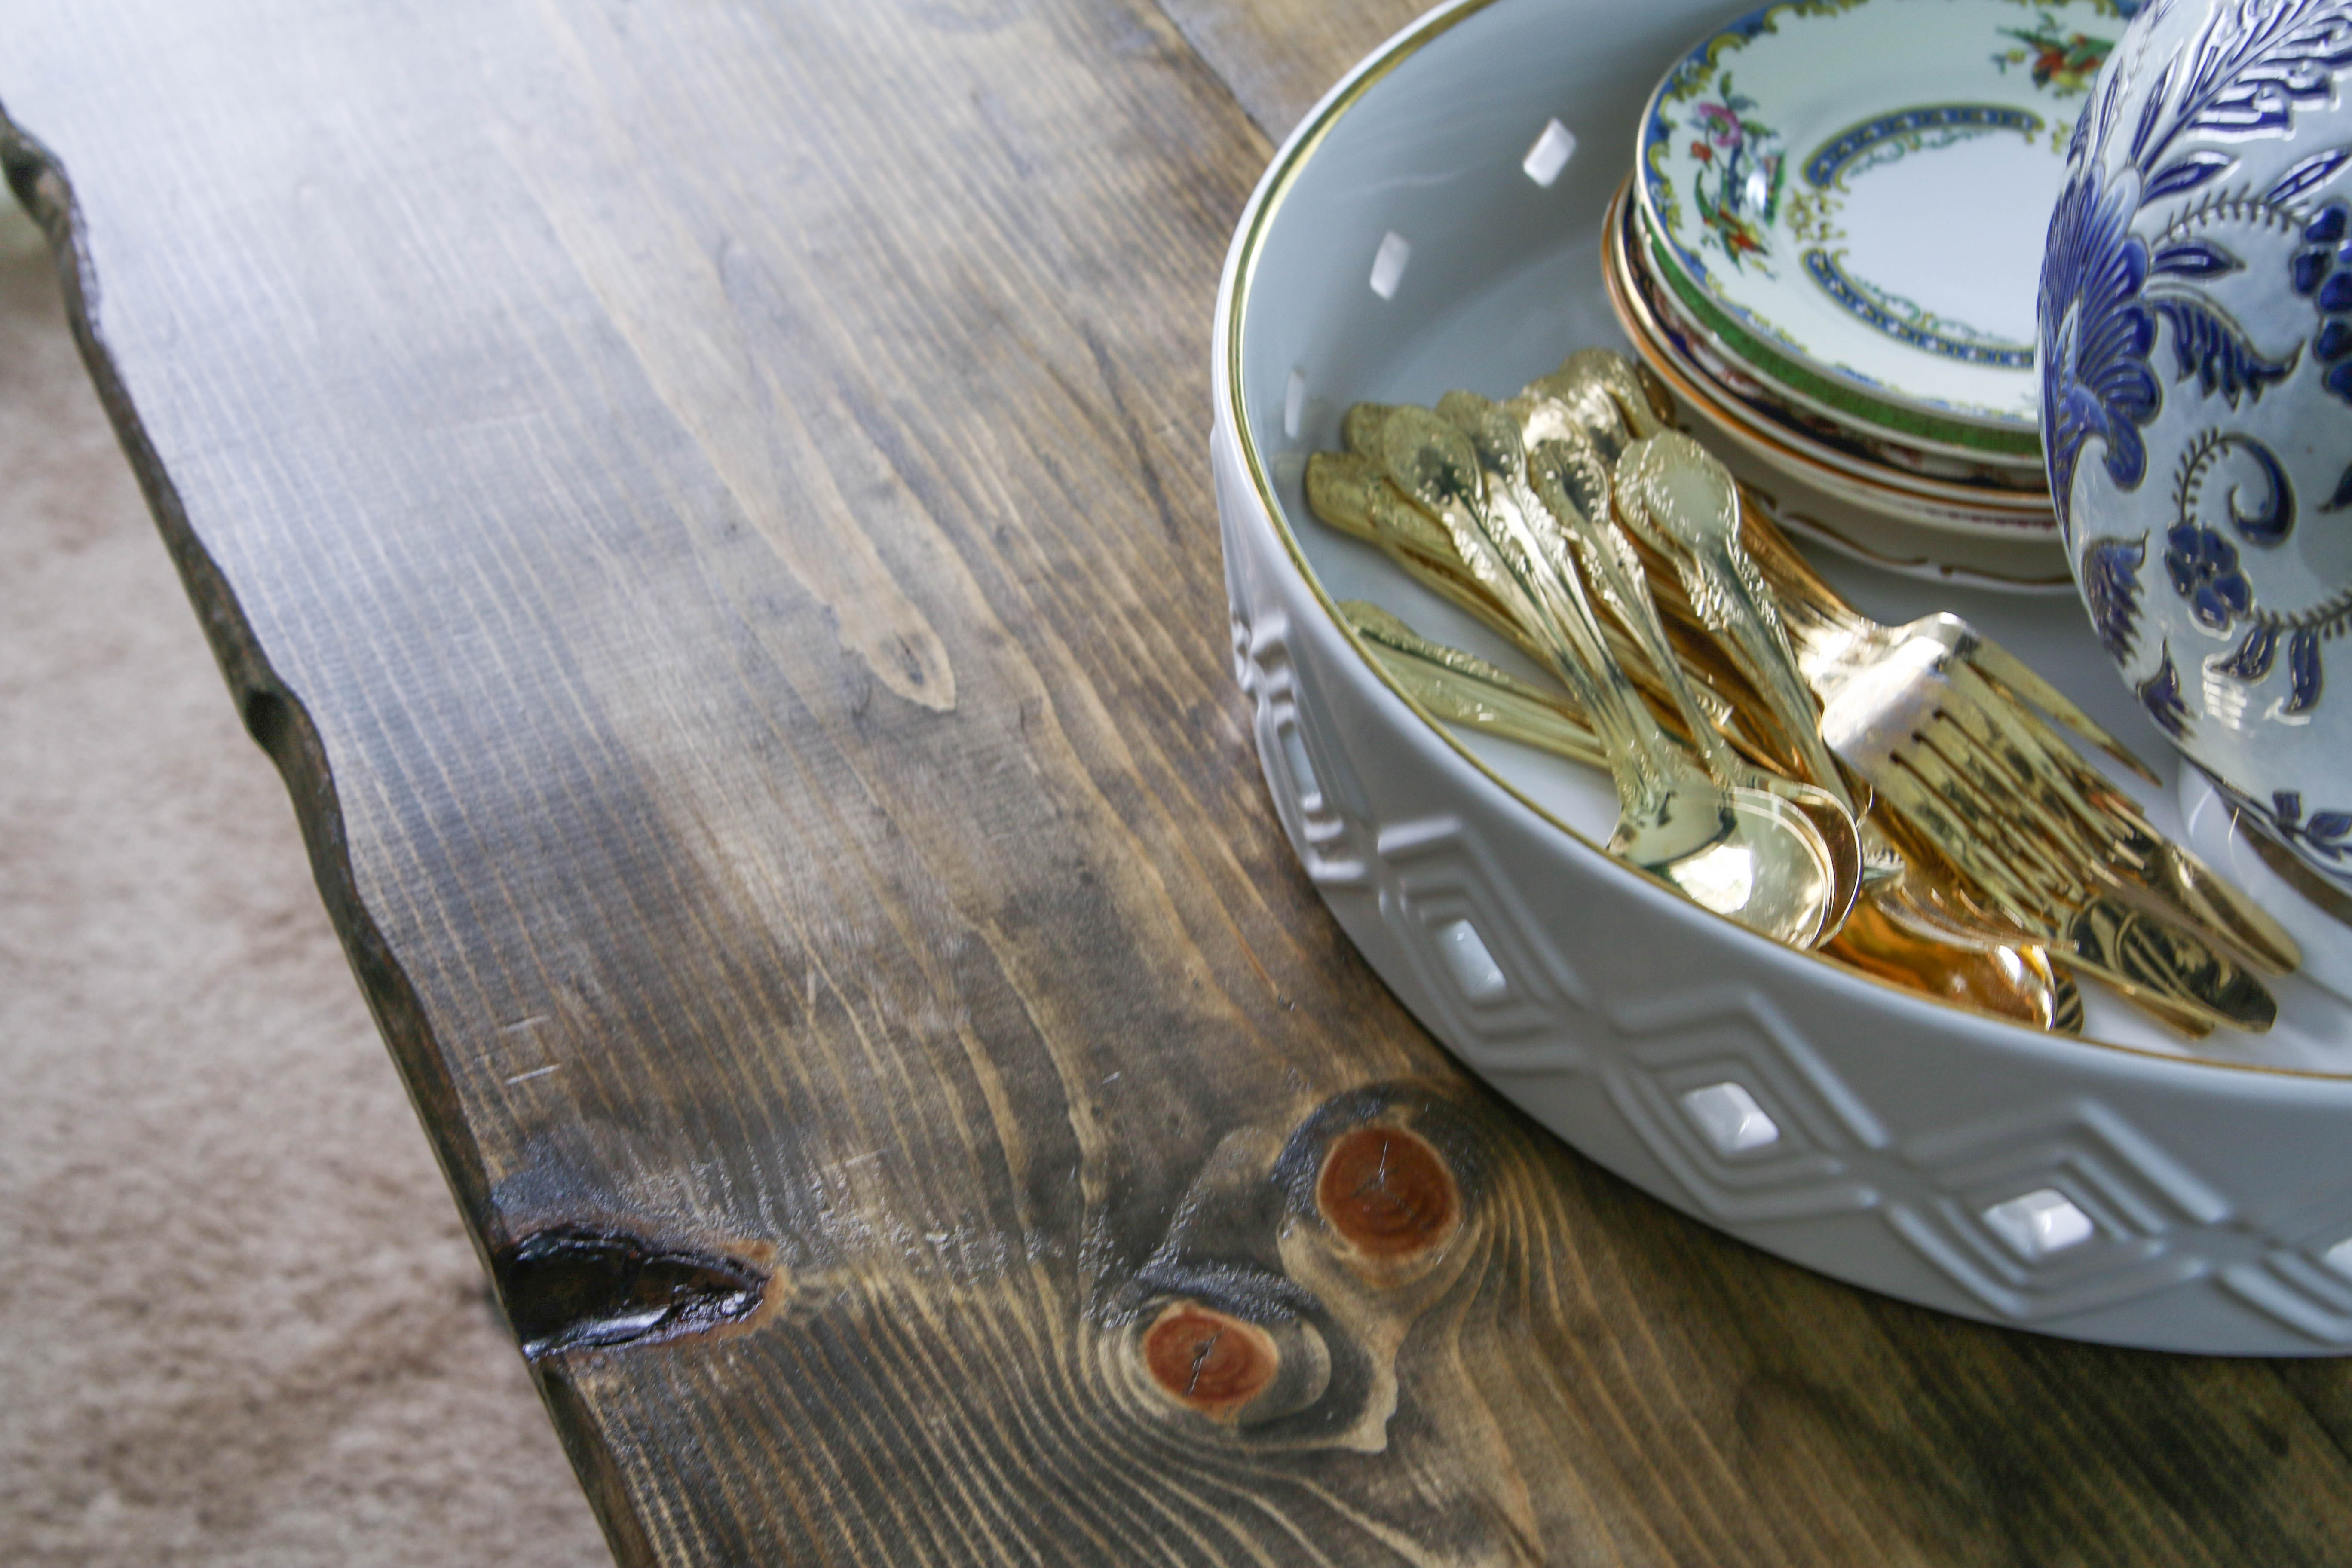
I clamped down my first board (the belt sander will send your board flying if not clamped) and then with my eye protection and gloves on (safety first), I started sanding away! I was cautious at first but quickly realized that I wanted there to be bigger notches so I spaced them out but just started making notches and then smoothing them out to blend with the wood. I also sanded down all the edges on the one side to be rounded.
I put wood glue between the boards, and also screwed a backer board with wood glue to the back on two places. Once that was dry, I sanded the top all over to make sure it was an even surface.
At this point, I used the pre-stain. It just ensures that the stain goes on evenly. I then brushed on the stain! I used a mixture of Ash and Golden Oak. Once that was dry, it was time for the poly. I am super paranoid about letting poly dry so I always follow the instructions to a tee and sometimes even give it a bit longer to make sure it’s hardened between coats.
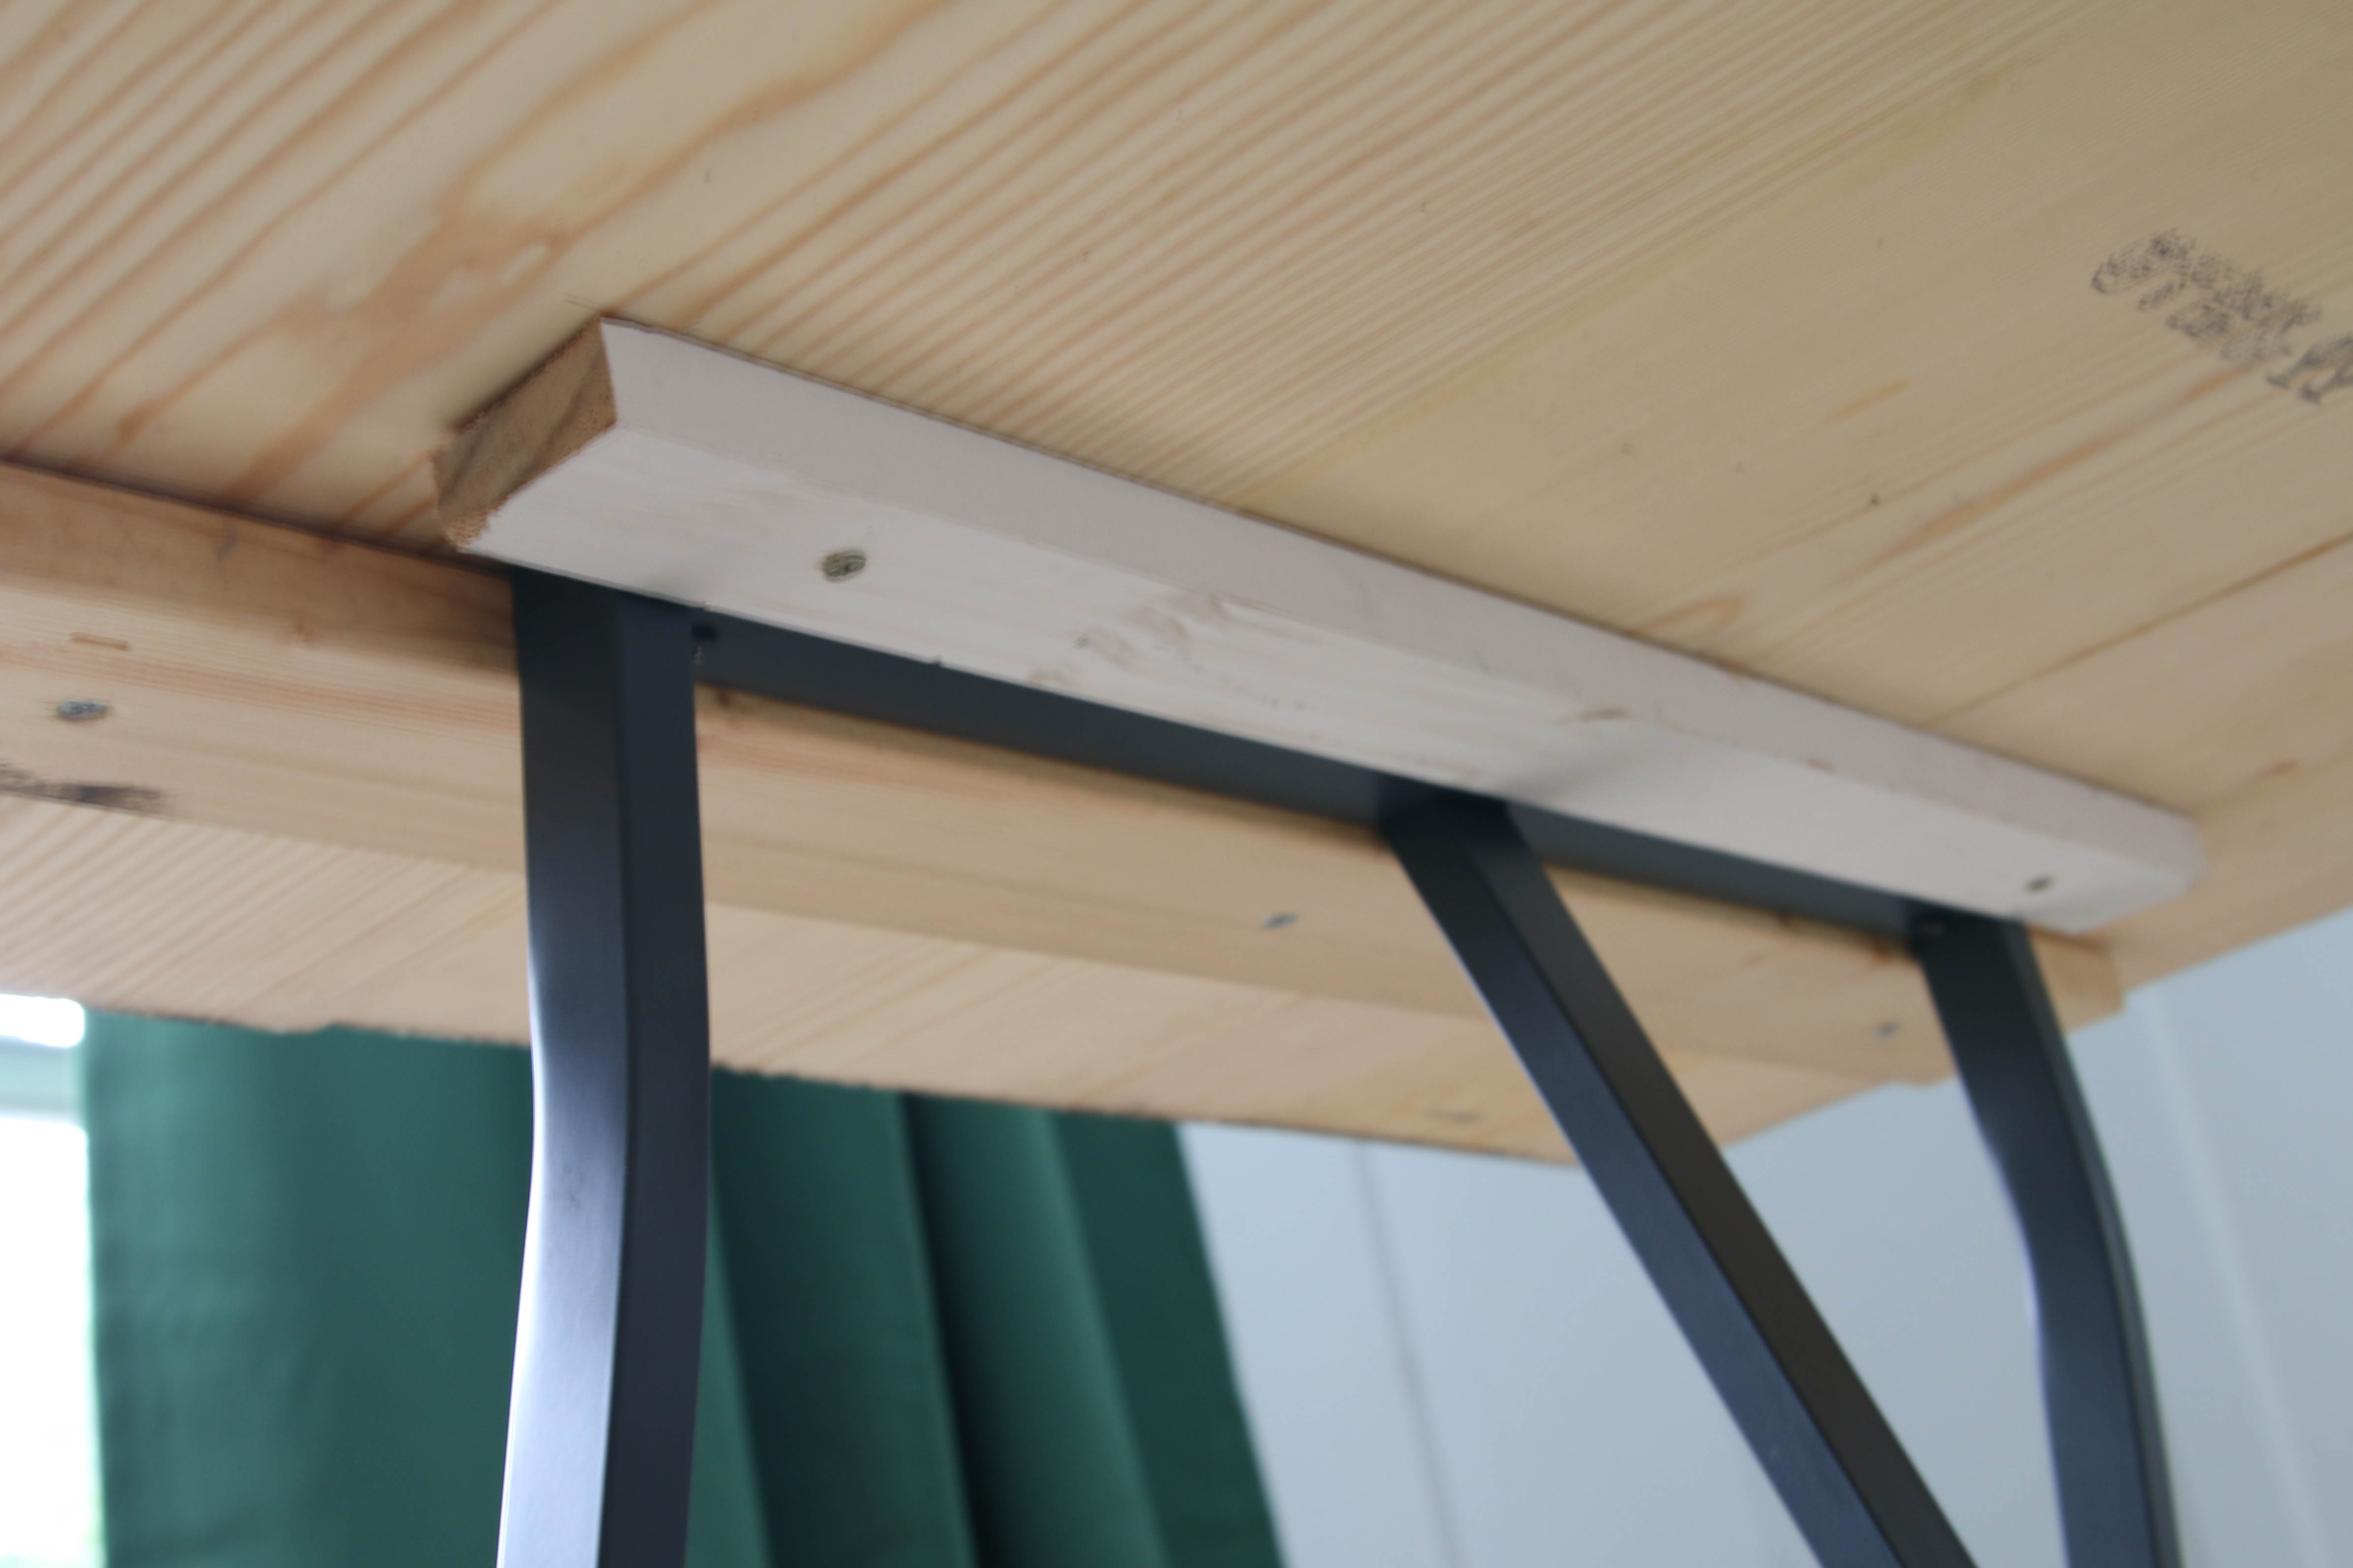
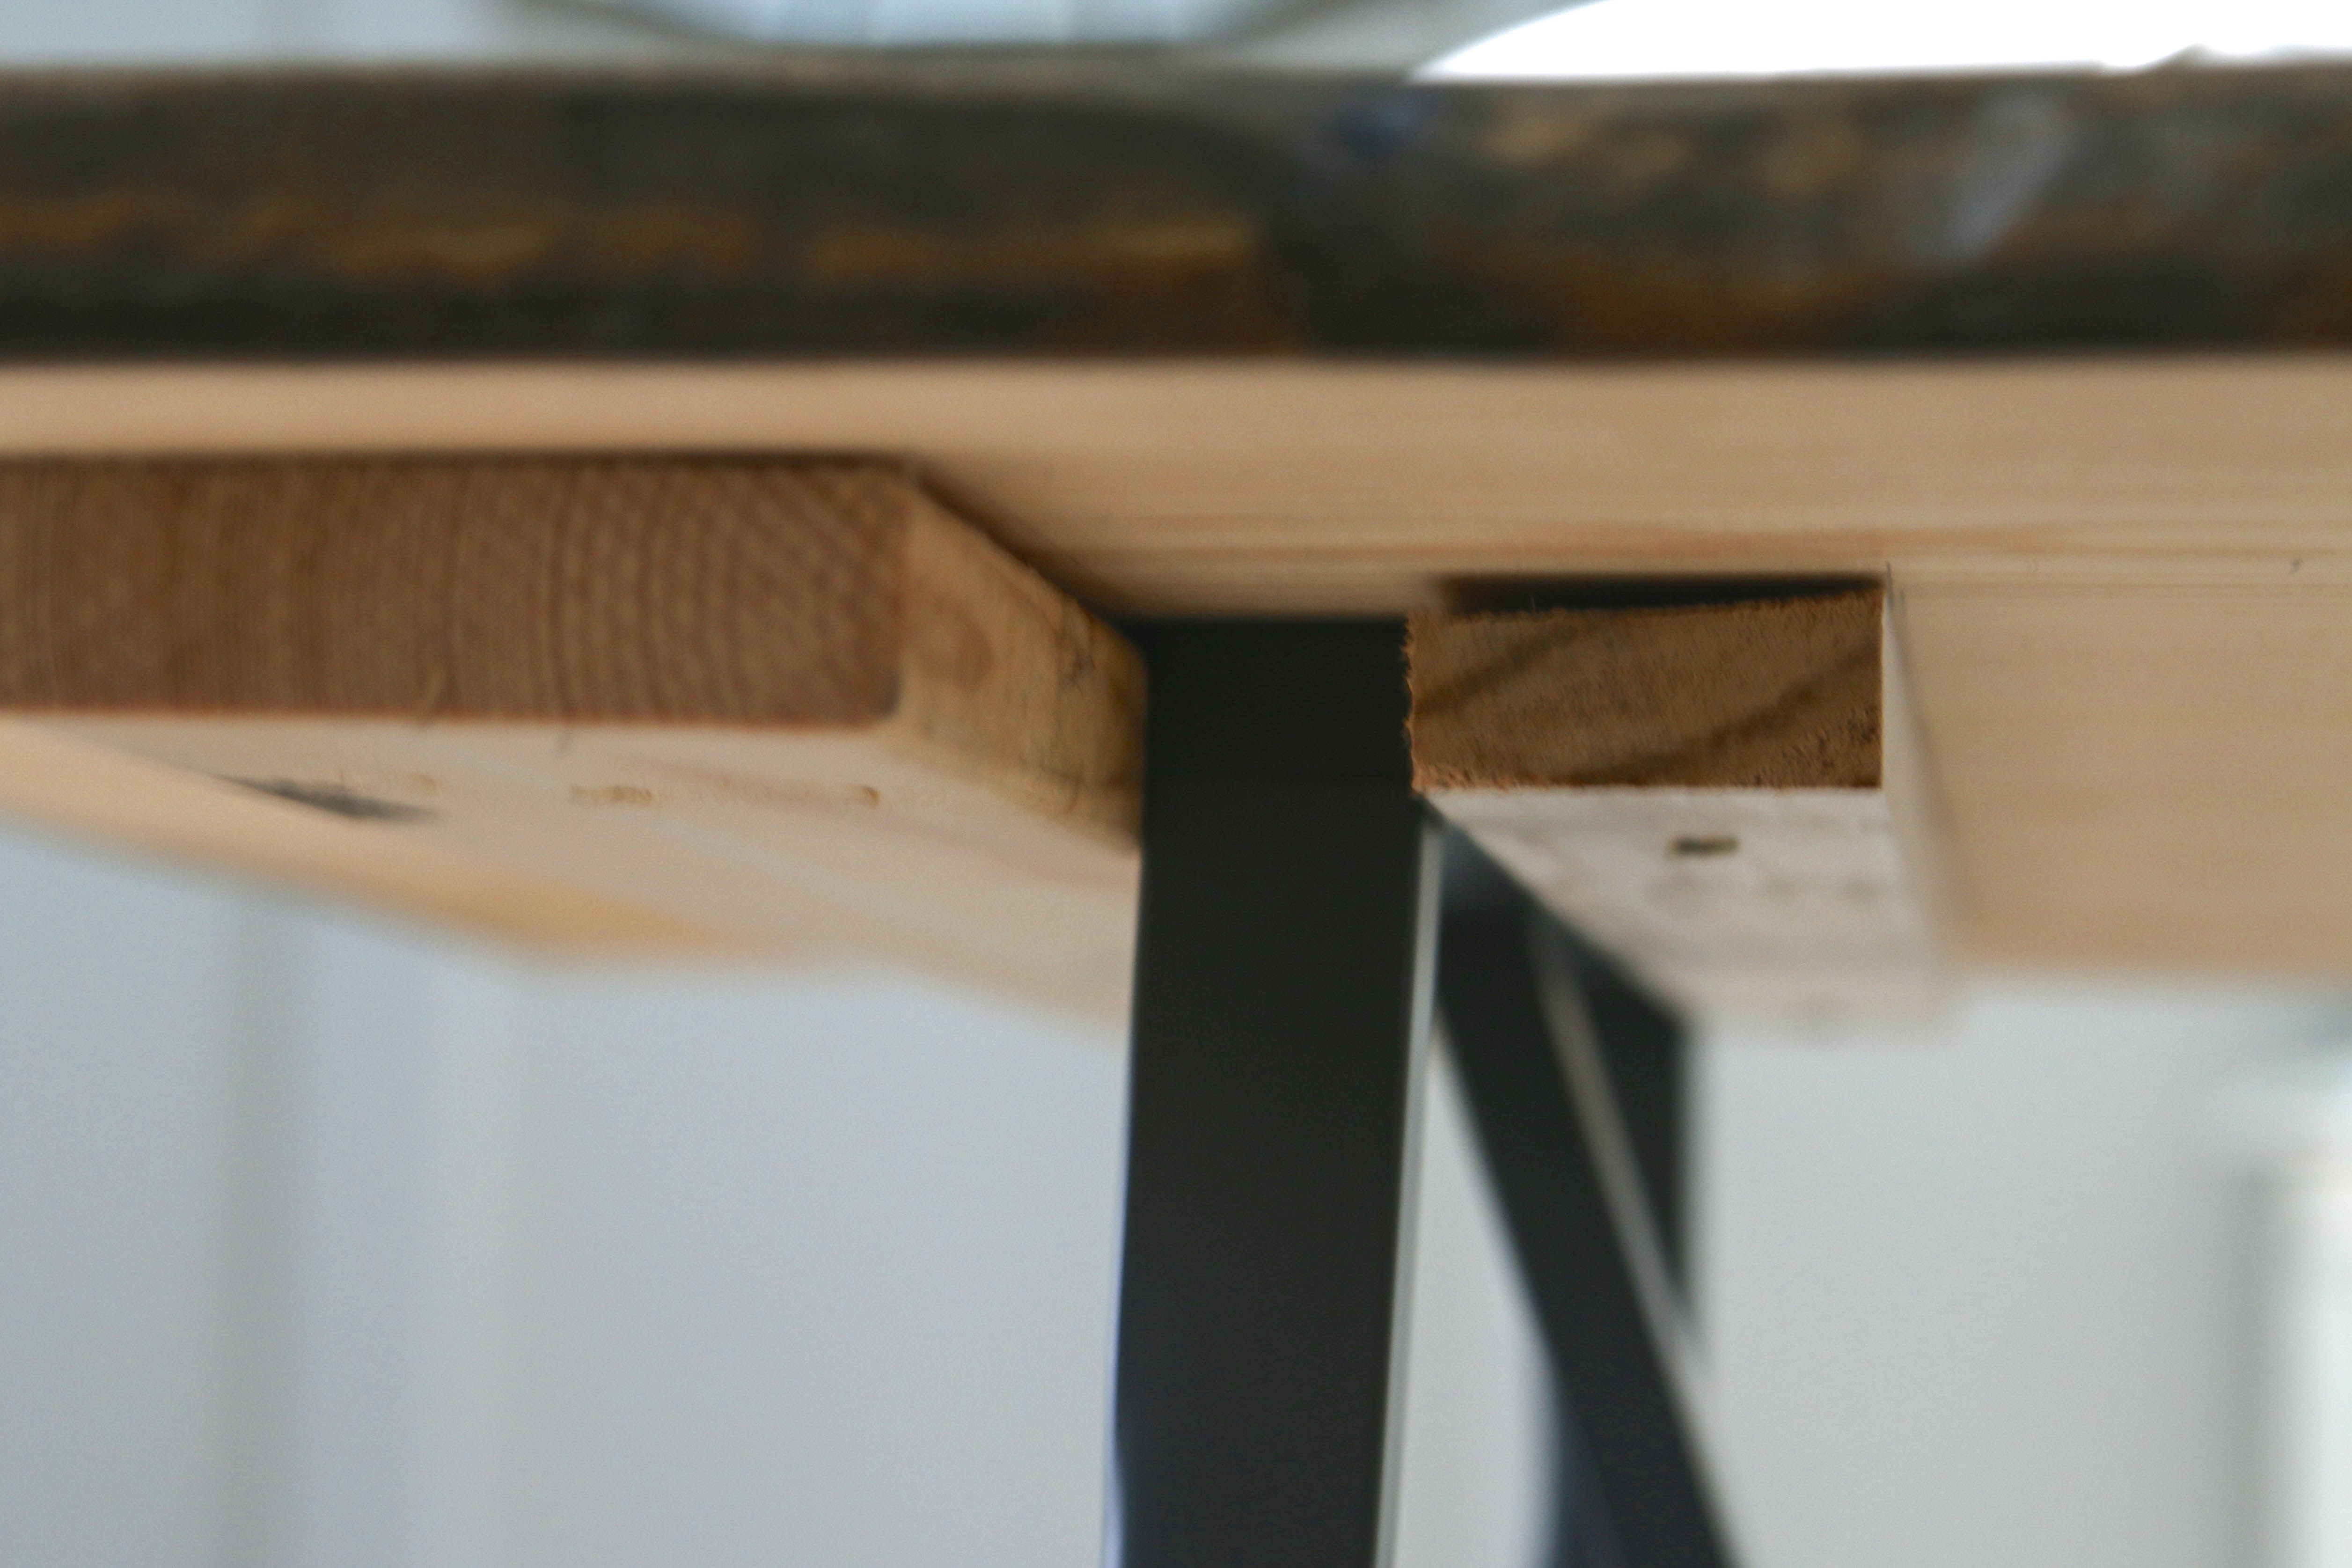
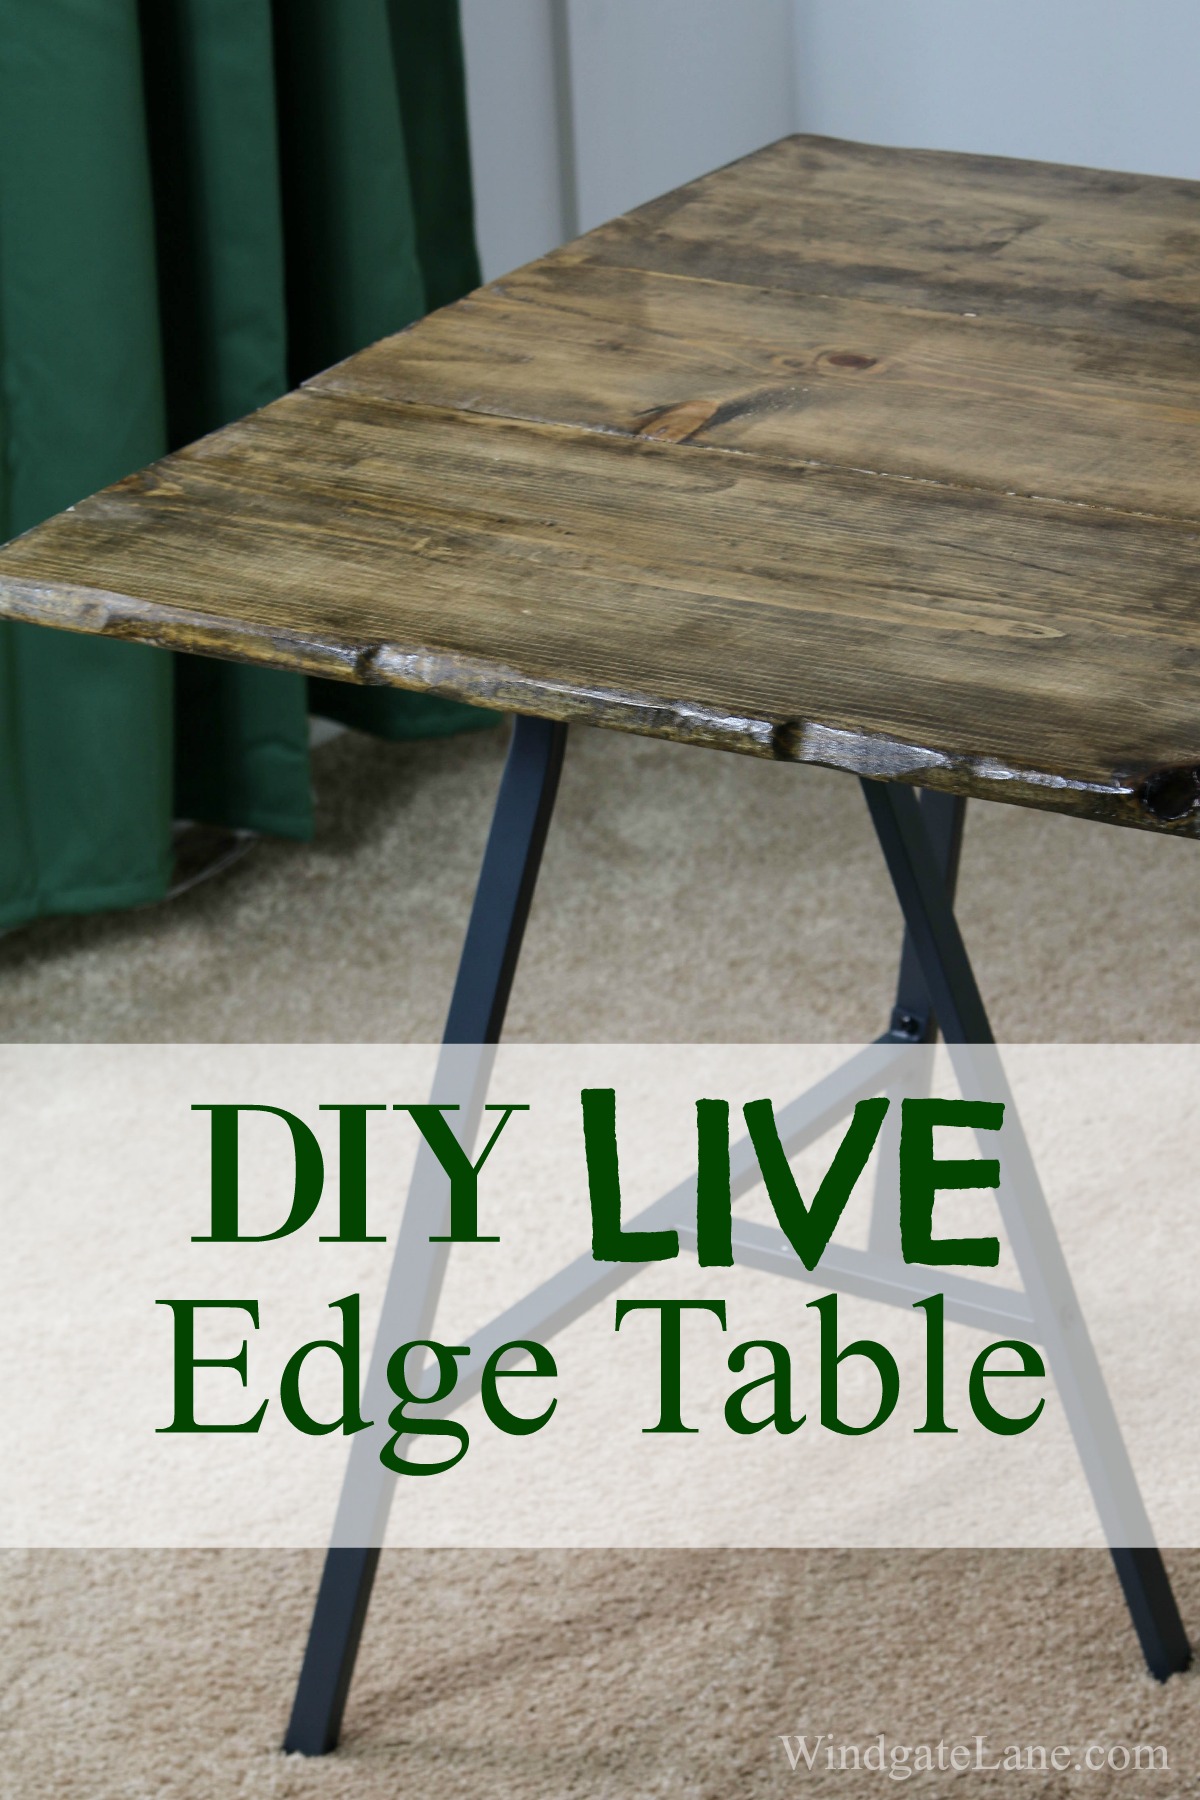
Enough chit chat, right? Once dry, I attached two trestle bases from Ikea for a whopping $15 each! But ya want to know what $15 gets you? No way to attach them to a base! what?! Annoying. So I decided to add another cross bar underneath to let the base have a ridge holding it in place. The pictures may explain it better:)
The stain really helped the sanded details to stand out and I couldn’t be happier with my 6 seat table for a grand total of about $80!
If I didn’t need it to be light and mobile, I would have liked it to be a thicker wood, but this is the perfect solution for my needs! And I’ll be back later this week to show you it all set up for Thanksgiving!
Update! I finally found the perfect chairs and the Dining Room has been completed! Head here for sources and details! 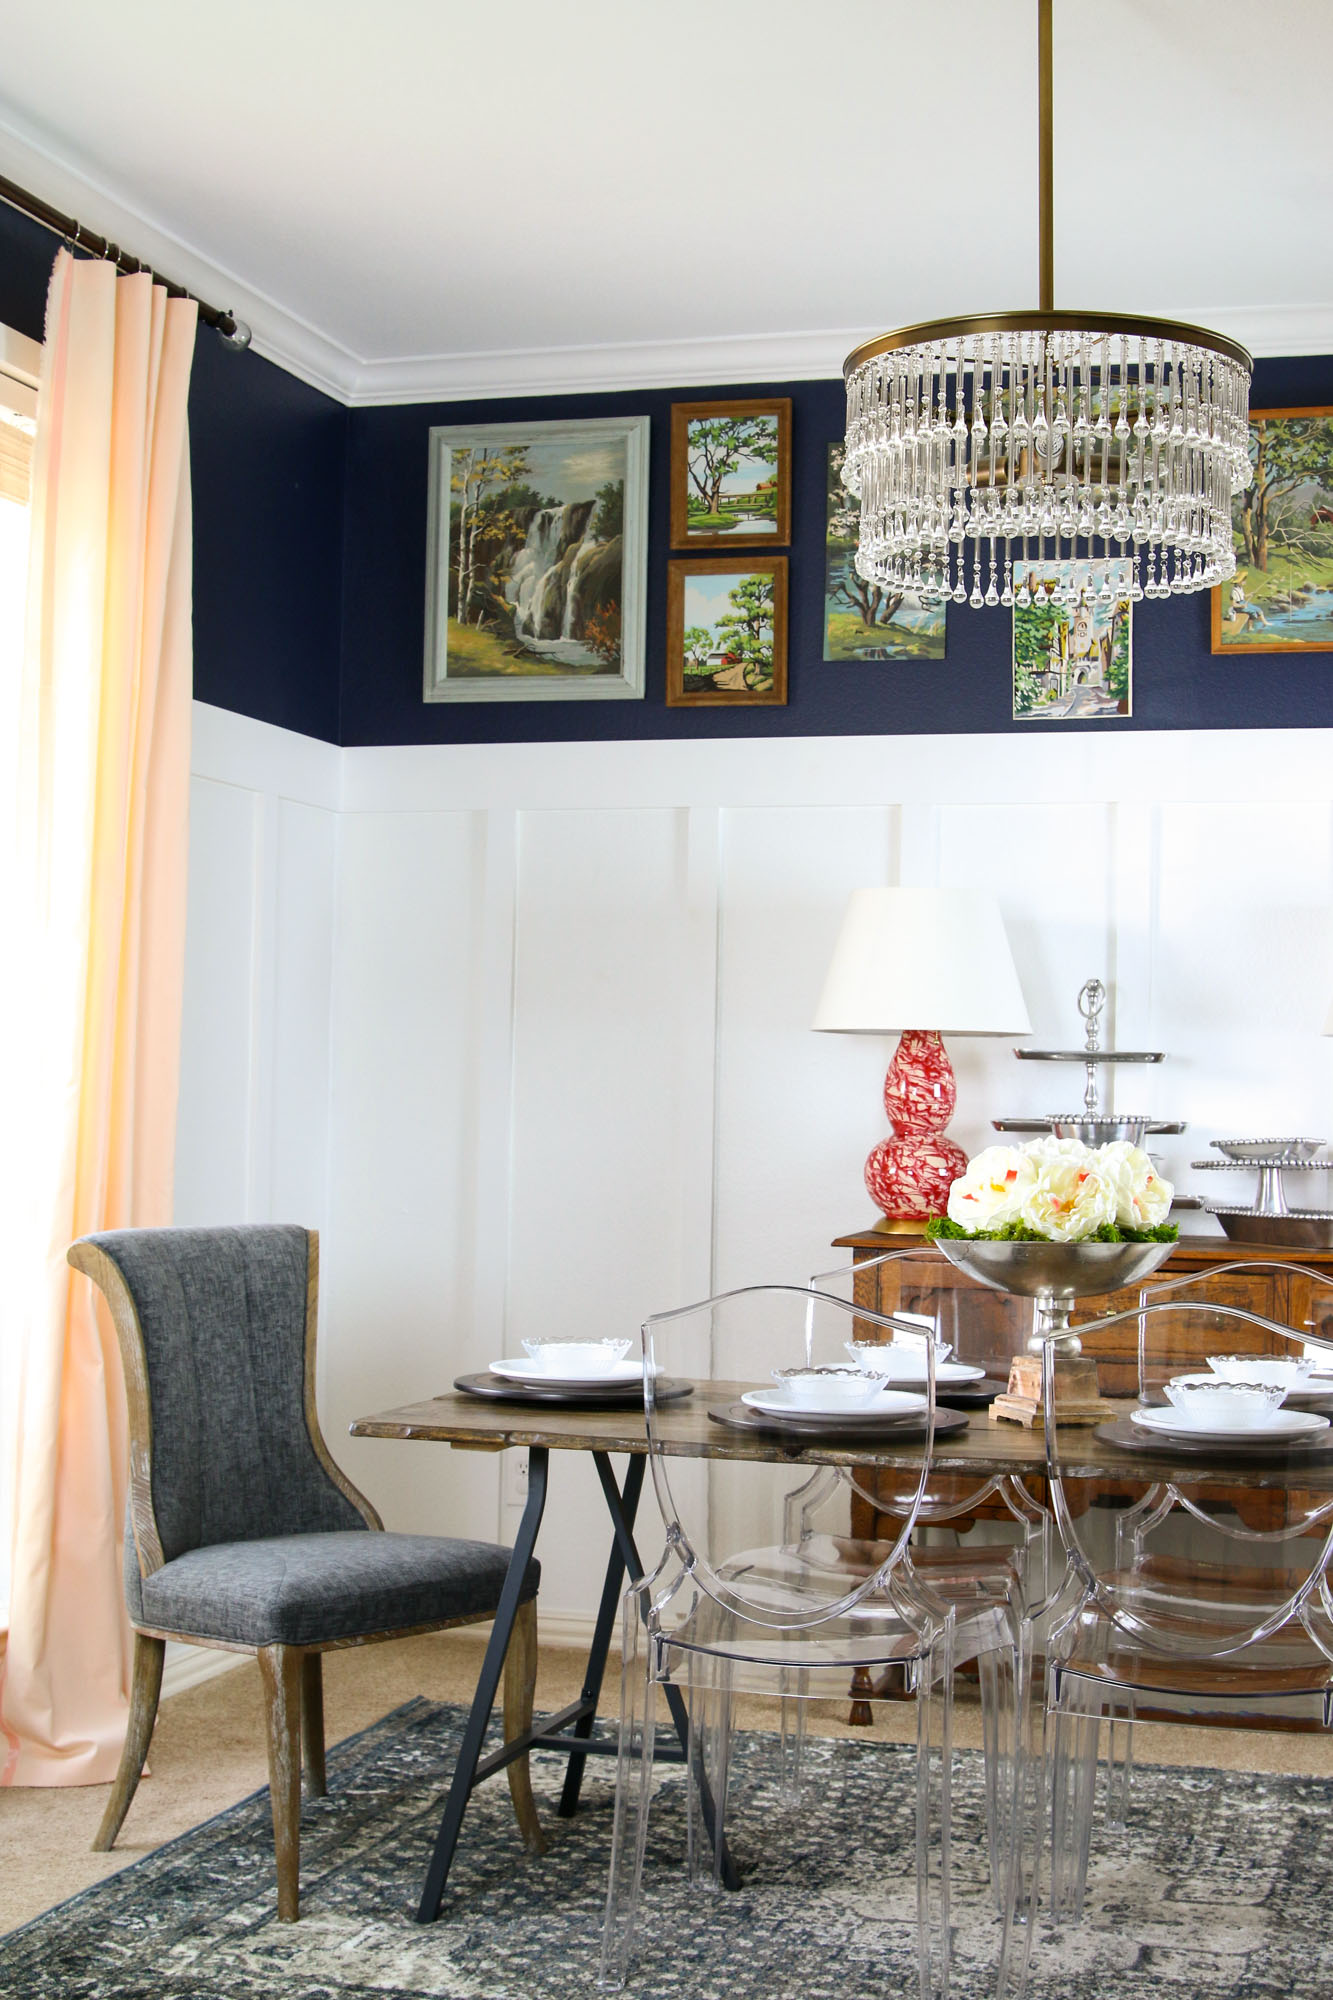
Have a wonderful day~
xoxo
B
Looks SO. FREAKING. GREAT!!!! I love the live edge… that one knot is amazing!! I don’t have a belt sander, but maybe I need one!! Well done, friend!! xx
Thank you! Yes, you need one- it is magic!!
This is absolutely beautiful! I want a small version for my dining room! Love it!
Holly @ Creatively Living
Thank you so much! Let me know if you make one- I think you will find it pretty simple!
Umm.. this is AWESOME! I love the look and had no clue it was so easy to do a live edge!! You killed it!
Thanks Jenna! It really was so easy- I’m tempted to do a coffee table the same way!
The live edge trend is my favorite thing right now! Love how this turned out!
Thanks so much!
I was on Hometalk when I saw your table and so dang thrilled with your design that I went a little crazy with the comment I left there. Thing is, this table is amazing for my home and for my church that I just had to let every know what your smart brain created and how it could be used in so many ways . I especially like the live edge for my home and a smaller version in areas where a unique table is needed at church but we have put off buying them due to cost. Now I can make different versions of your table to meet many needs. Here is what I posted on Hometalk, sorry, didn’t want to type it all out again as it is lengthy due to knowing my needs at the church we haven’t been able to solve, just got carried away, lol Again, thank you so very much for your creative brain coming up with this versatile table that is so much better and easier to store than those bulky, ugly Sam’s tables.
Hometalk comment -This is an awesome idea that could be used in so many ways! I decorate for meals and events at the church often and while the white plastic tables are easy to fold up and put away they just are not very pretty so have to be covered. While I use mostly white tablecloths with a clear plastic cover over them and decorations on top. I really like to use colored or patterned on serving tables because you can’t add many decorations and just hate to cover them with the clear (sort of) plastic. Of course a little food is always spilled on them so they have to be treated and cleaned. Now your table just like it is would be perfect for our many casual or rustic meals and events but we could make some that are white, cream or any color with painted on color designs and that would end the pain of trying to keep the serving clothes stain free, especially on the drink table! Oh wow, on that table we could also easily paint different areas and label them for the sweet tea and the unsweet, it is always a problem and every asks anyone standing near by, which one is sweet, it would solve the problem to have it painted on the table!! Also easier to store and we could actually make them skinnier and shorter for all the areas where we need a small table temporary or not, gosh, ideas are flowing for so many variations on this table for home and at the church, so sorry about that! The thing that has always held me back on getting wood tables for all the needs we have is cost of course and storage problems, this solves both those problems! I would have to add an extra movable brace to clamp down to ensure the top would not slide, as many older folks lean on the tables as they walk along filling their plates and I would need to ensure that it didn’t slide.Thanks so very much – again sorry for writing a book, just got excited and the ideas are running like crazy!
Thank you so much Vickie! I really appreciate your comments and am excited that this is going to be helpful to you and your church! Please send me pictures once you have your own- I would love to see it- and let me know if you have any questions:)
Ooooh, turned out great! I made a barn wood harvest table recently, and it was such a fun project. It is great that you added a dollar total to it also, that is really helpful for people who want to try it but don’t know how to start.